
What are Auto-Publishers?
An Auto-Publisher takes posts from your content feeds and publishes them to one of your channels on a schedule. Set it up once, and it keeps the channel busy: it picks the next post, formats it for the channel, and publishes it at the times you chose.
Each Auto-Publisher has:
- Content: up to 10 content feeds of any type: original, imported, smart or discovered.
- A channel: one destination, such as a Facebook page or a Telegram channel.
- A schedule: how often and when to publish.
Where an Auto-Publisher can post
Section titled “Where an Auto-Publisher can post”| Channel | What it publishes | Guide |
|---|---|---|
| Posts on a Facebook page | ||
| X (Twitter) | Posts on your X account | X (Twitter) |
| Posts on your profile or company page | ||
| Image posts on an Instagram Business or Creator account | ||
| WordPress | Posts on your WordPress site | WordPress |
| Blogger | Posts on your Blogger blog (coming soon) | Blogger |
| Telegram | Messages in a Telegram channel or group | Telegram |
| Email digests | A regular email with the newest posts | Email digest |
| Automation platforms | Signed events to Zapier, Make, n8n, Pabbly or any HTTPS address | Webhook |
Connect the channel first on the Channels page, or from the wizard.
Create an Auto-Publisher
Section titled “Create an Auto-Publisher”Open Auto-Publishers in the sidebar and select Add new. The wizard has three steps. A preview on the right shows how your posts will look on the channel.
Feedigy gives the new Auto-Publisher a name. Select the name at the top to change it.
Step 1: Select content
Section titled “Step 1: Select content”- Select Add content feeds.
- Find a feed and choose Add to auto-publisher in its Actions menu. Add up to 10 feeds.
- Select Next.
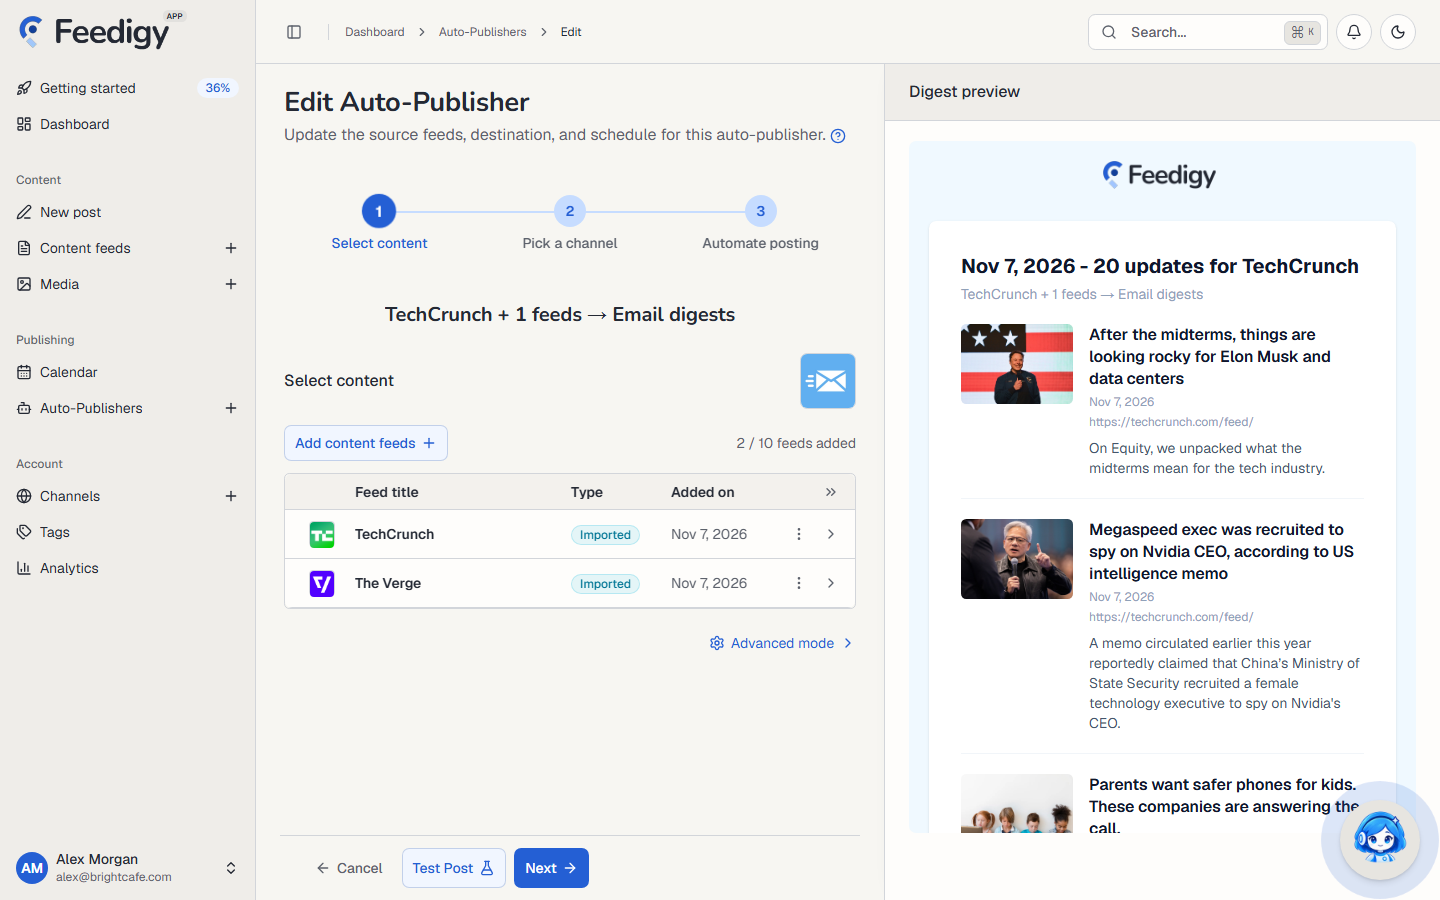
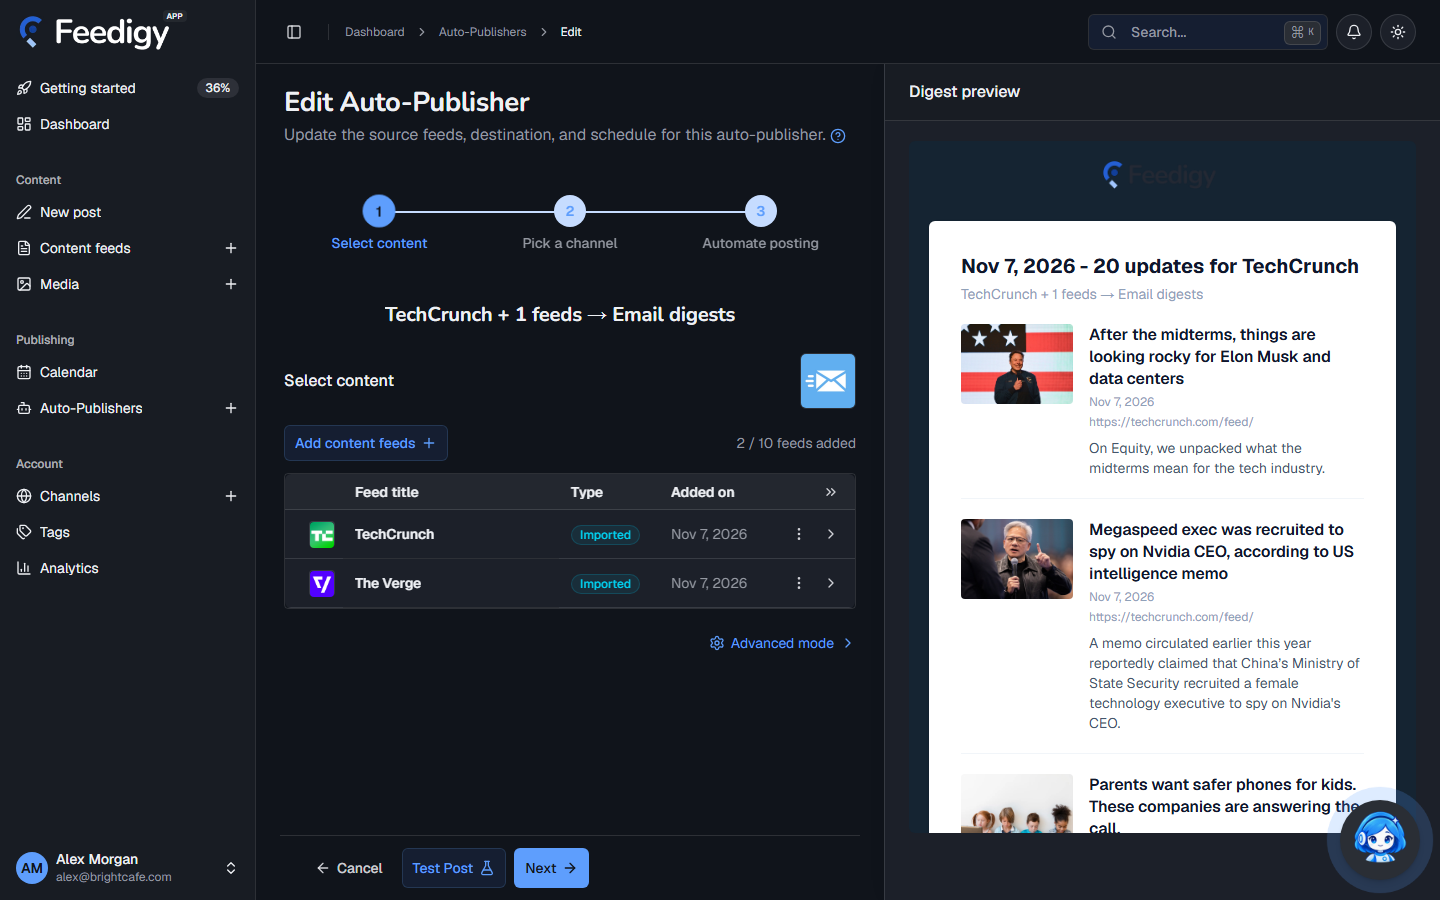
In Advanced mode you can filter the posts:
- Require keywords: publish only posts that contain one of these words.
- Exclude keywords: skip posts that contain any of these words.
Step 2: Pick a channel
Section titled “Step 2: Pick a channel”- In Destination channel, choose the channel type, for example Facebook or Email digests.
- Choose the account, page or address to post to. Select Add new to connect one.
- Set how the post looks. The options depend on the channel: see the guide for your channel.
- Select Next.
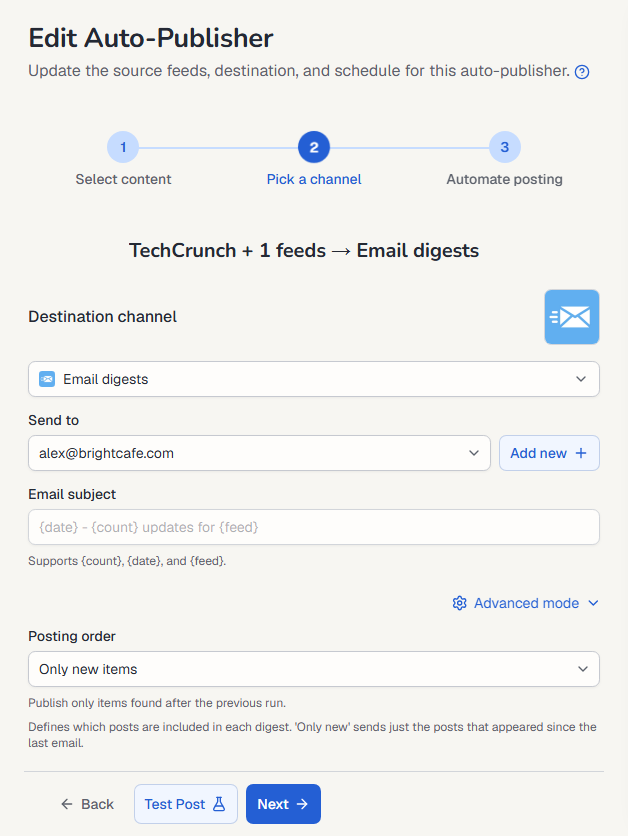
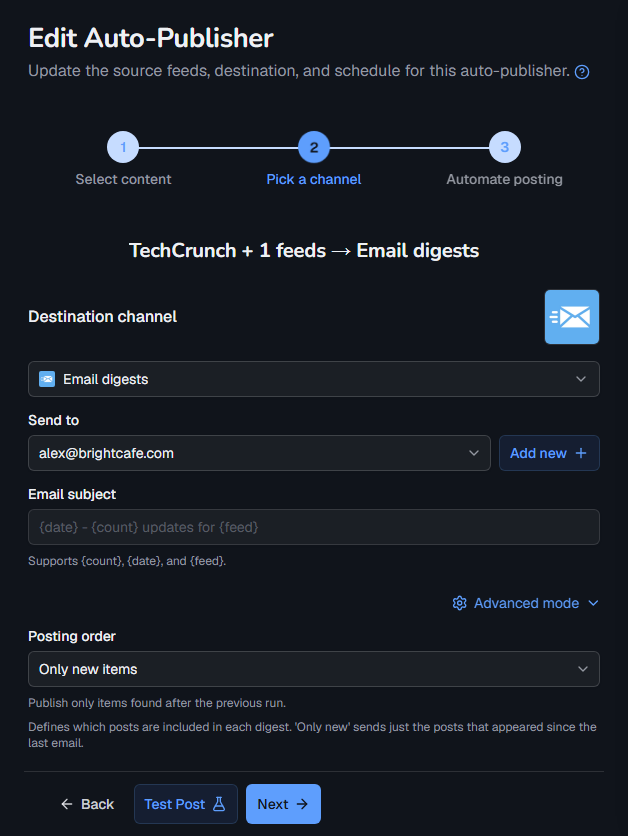
Most channels have these options:
- Posting order: which post goes next.
- Newest first: the newest post that has not been published yet.
- Oldest first: works through the feed from the oldest post, for example to publish a book chapter by chapter.
- Random: a random post that has not been published yet.
- Only new items: only posts that appeared after the previous run.
- Post template elements (draggable): the parts of the post, such as Title, Body, Link, Tags and Images. Turn each one on or off, and drag them to change the order.
- Signature / Custom text: your own text in every post, or an AI prompt that writes it for each post. Each AI processing costs 1 AI credit.
- Tags: hashtags from the post’s own tags, or your own list. Rotate tags per post picks a different set each time.
- Append to post links: parameters added to every link, such as UTM tags, for example
utm_source=feedigy&utm_medium=social.
Step 3: Automate posting
Section titled “Step 3: Automate posting”Choose the Schedule type:
- Interval: publish one post every few minutes, hours, days or weeks, for example every day. Next run shows when the first post goes out.
- Custom: pick days and times, for example Monday, Wednesday and Friday at 09:00 and 17:00. Select Add schedule to add more, up to 7.
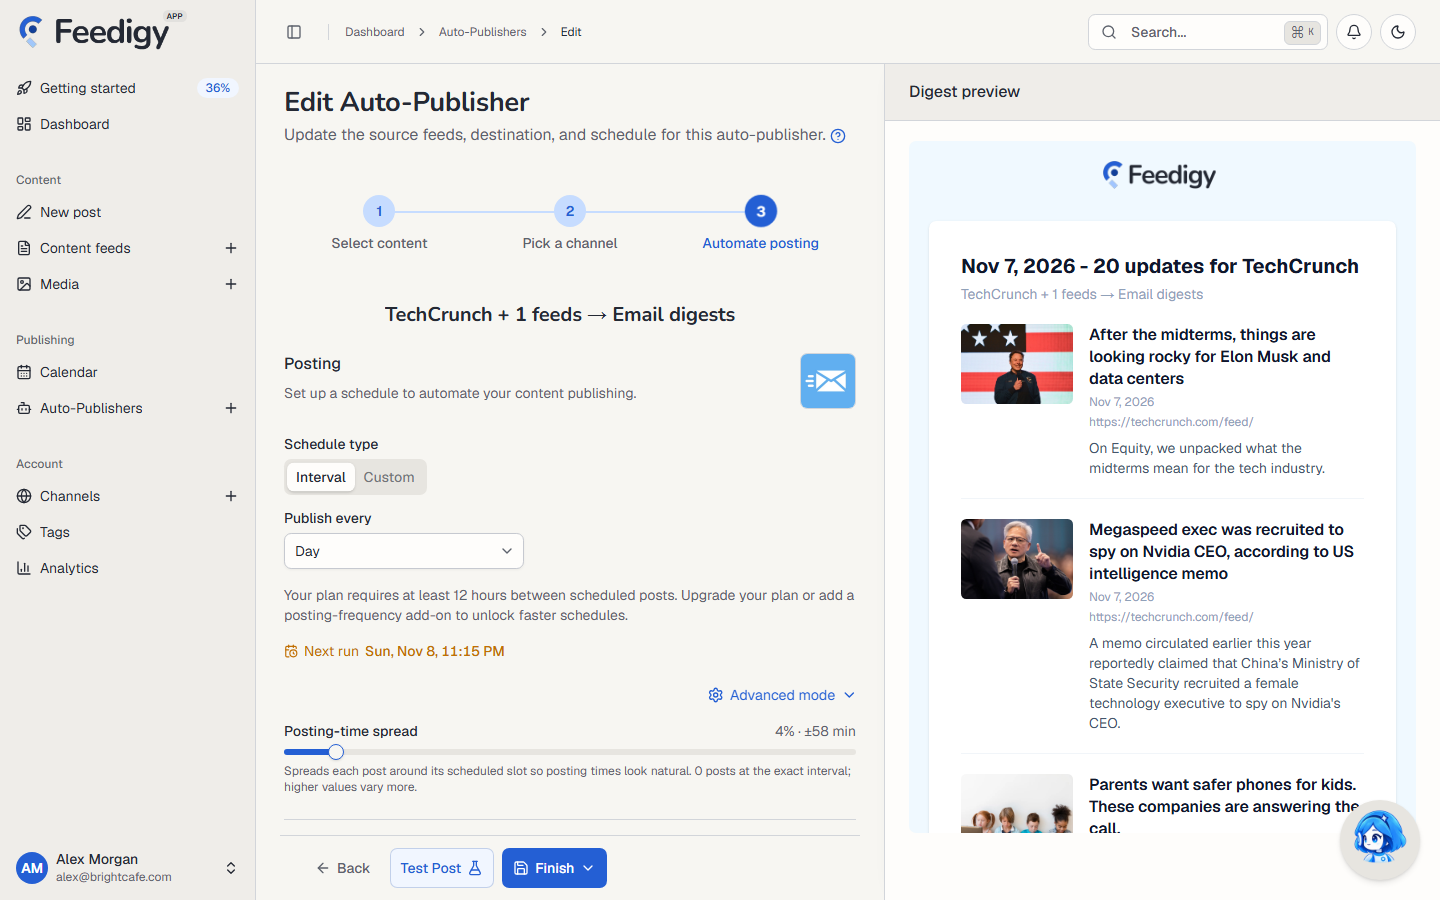
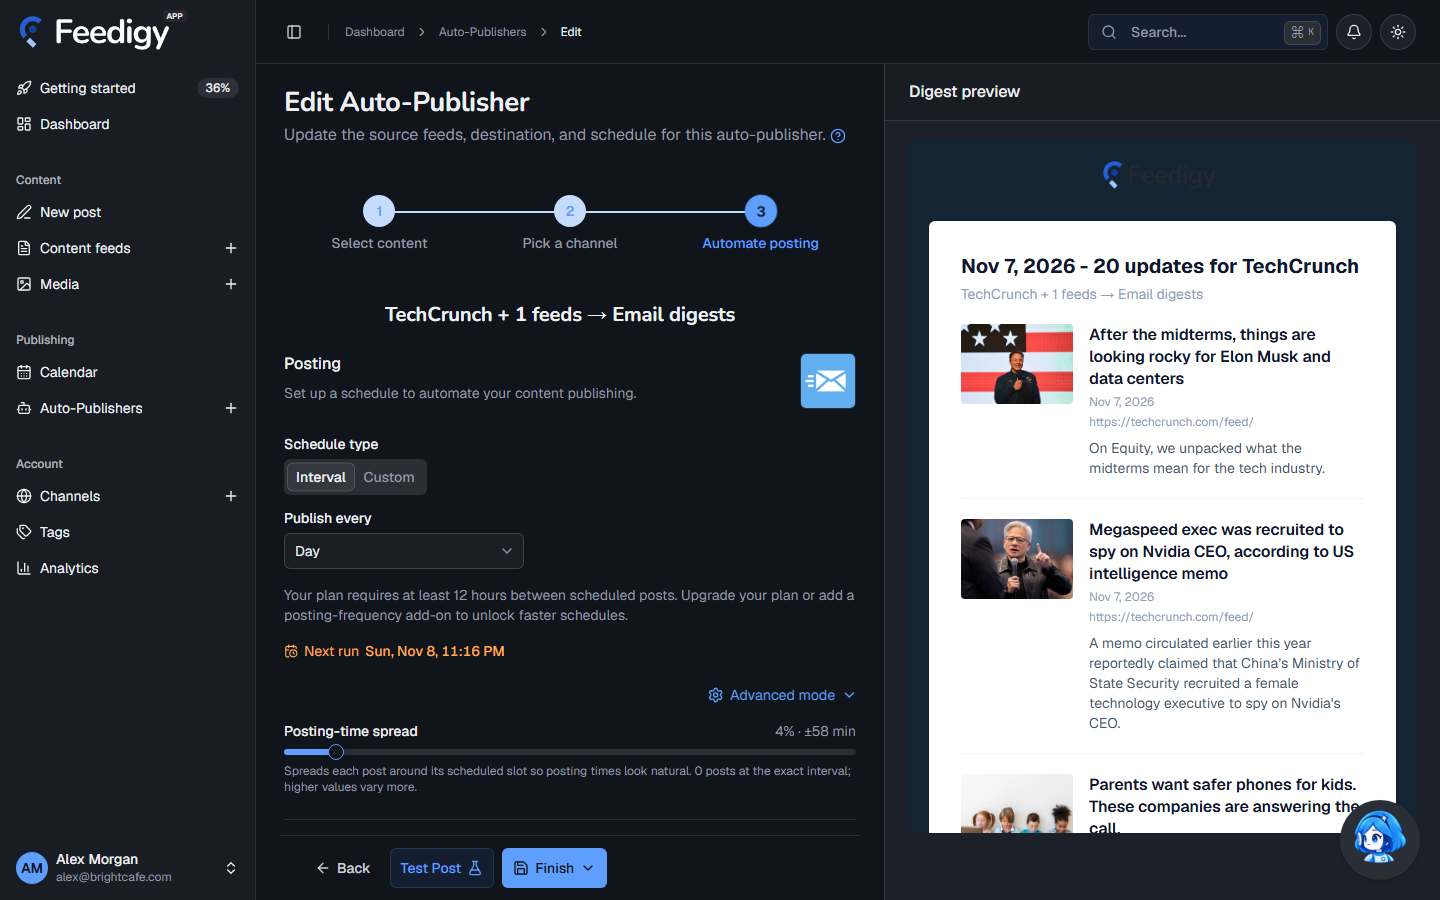
Your plan sets the shortest time between posts. To post more often, upgrade or buy a posting-frequency add-on. See Add-ons and top-offs.
In Advanced mode:
- Posting-time spread: moves each post a little before or after its time slot, so the times look natural. 0% posts at the exact time.
- Change auto-publisher timezone: the timezone for the schedule.
- Schedule auto-publisher start and Schedule auto-publisher stop: start later, or stop on a date.
Then open the Finish menu:
- Save & Run: save and start publishing on schedule.
- Save & Pause: save without publishing. Start it later from the list.
Until you finish, the Auto-Publisher is a Draft. Feedigy saves your changes as you go, so you can come back to it.
Test a post
Section titled “Test a post”Select Test Post at any step to publish one post now with the current settings. It is a real post: Feedigy picks a post from your feeds, publishes it to the channel and marks it as published.
Manage Auto-Publishers
Section titled “Manage Auto-Publishers”The Auto-Publishers page lists each one with its Status, number of Posts, Next run and creation date.
- Select the status to start or pause an Auto-Publisher: Running, Paused or Draft.
- Open the ⋮ menu to Edit, Duplicate, View Log or Delete.
- Tick several to Start, Pause, Duplicate or Delete them together.
- Select Log to see the Activity Log of every run for all Auto-Publishers: what was posted, and any errors.
Scheduled and published posts also appear in the Calendar.
Keep posting through busy weeks
Set sources, keywords and posting hours once. Feedigy posts to your channels while you work on other things.
No card required. The Free plan has no time limit.