
Original Feeds
An original feed is an RSS feed you own. You write its posts in Feedigy, and Feedigy hosts the feed at its own public address. Auto-Publishers can then share each new post to your social networks and blogs. Other apps, such as RSS readers, can read the feed too.
An original feed is also a small blog, a micro blog. Readers do not need an RSS reader or a Feedigy account: they open the feed’s address in any web browser and read your posts on a clean page. Each post also has its own page you can link to. See Your feed’s public address.
Use an original feed for your own content: articles, news, product updates or offers. To share posts from other websites, use smart feeds, discovery feeds or imported feeds instead. Content Feeds compares the four types.
Create an original feed
Section titled “Create an original feed”- Select Create original feed under Content feeds in the sidebar. You can also open Content feeds, select Add feeds, then Original feed.
- Fill in the feed settings (see below).
- Select Save changes.
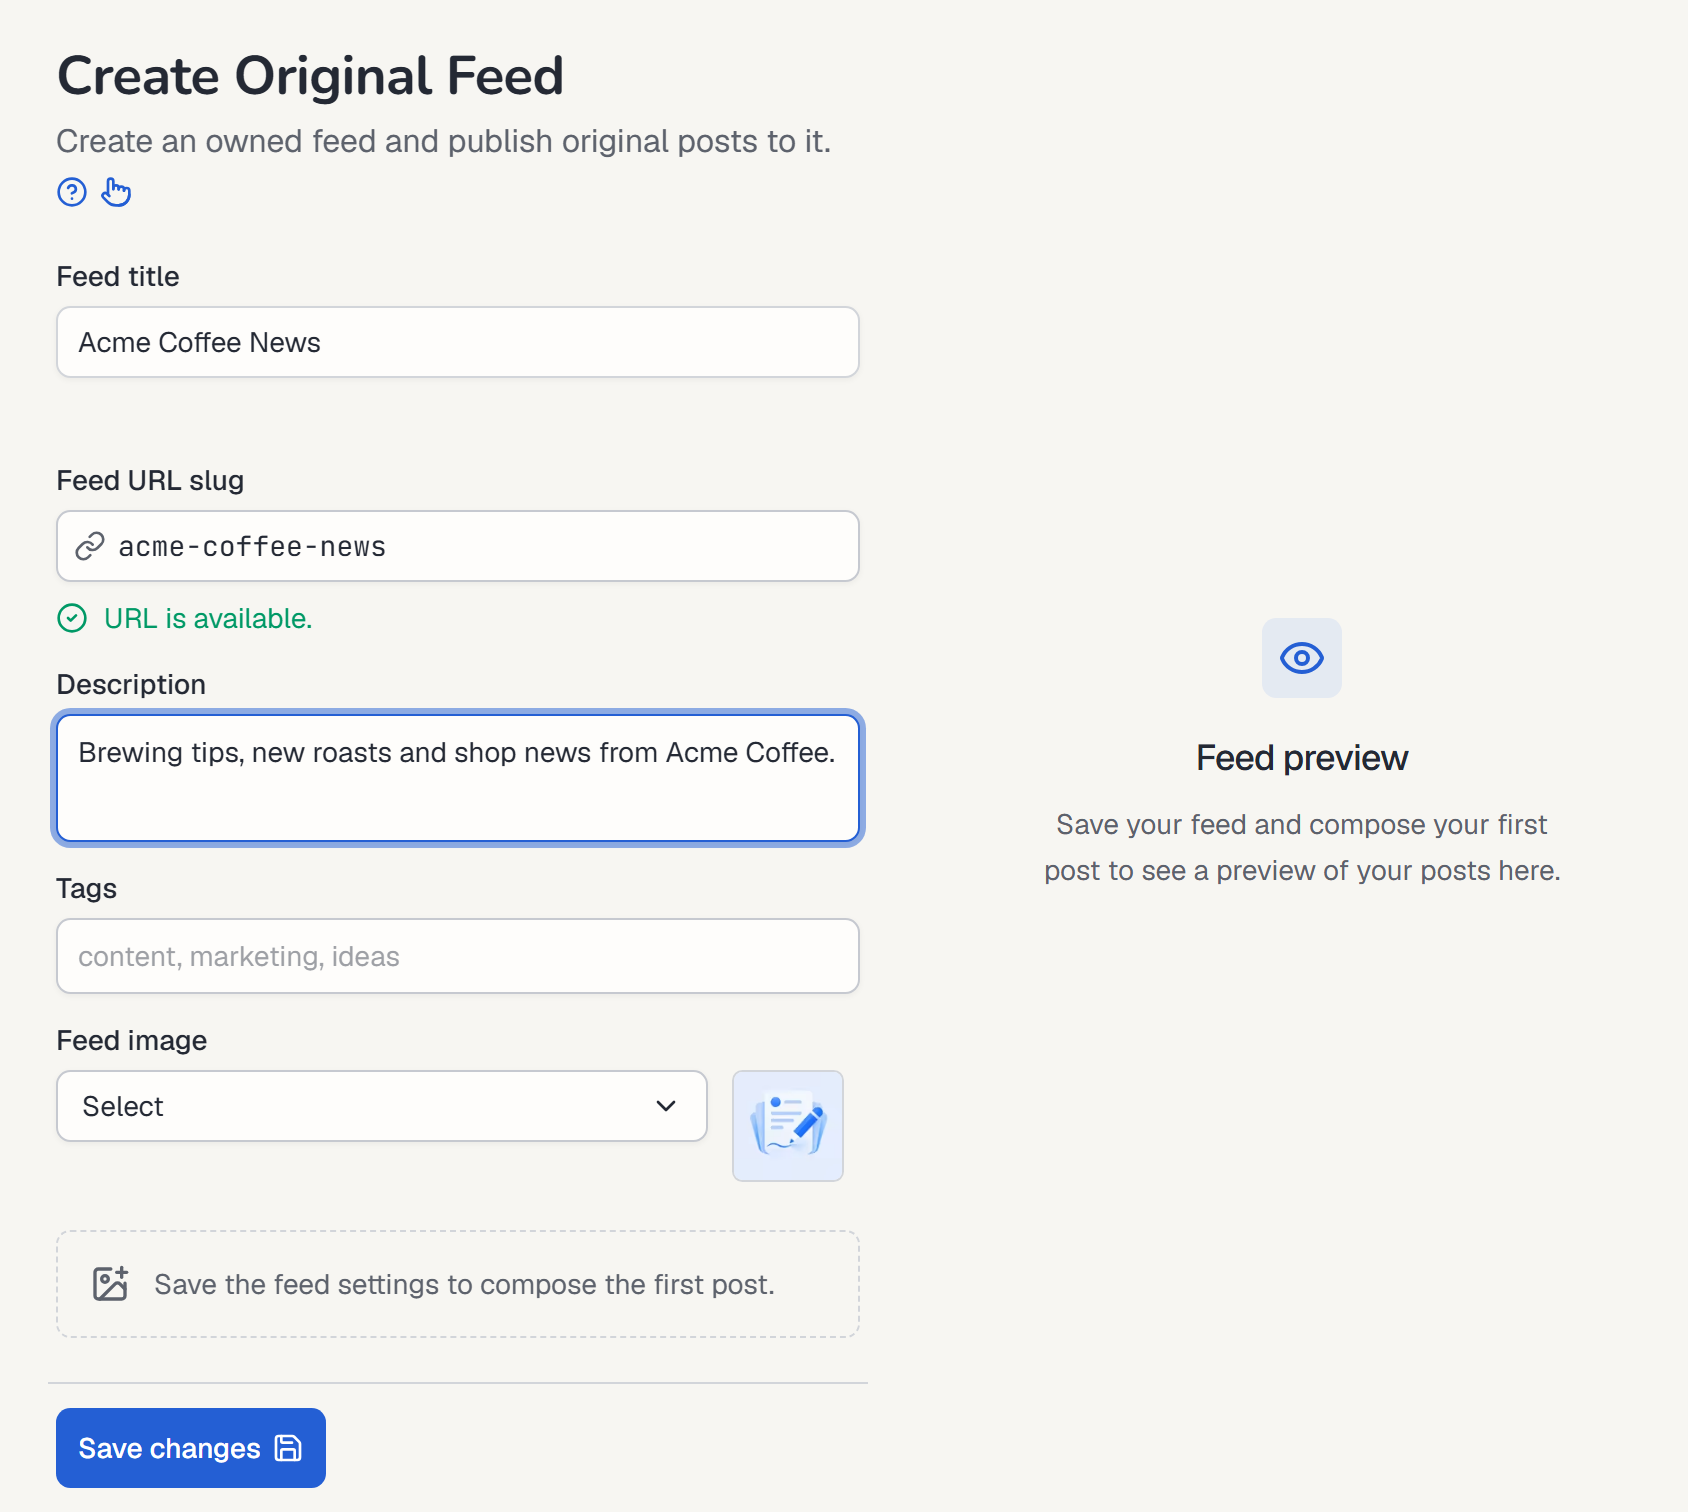
| Setting | What it does |
|---|---|
| Feed title | The feed’s name. Required, up to 255 characters. Apps that read the feed show it. |
| Feed URL slug | The last part of the feed’s address, for example my-blog in https://feedigy.com/o/my-blog. Feedigy fills it in from the title. Use lowercase letters, numbers and hyphens, up to 100 characters. Feedigy checks that no other feed uses it and shows URL is available. or URL is already taken. |
| Description | A short summary of the feed, up to 5,000 characters. |
| Tags | Up to 20 tags that describe the feed’s topic. They help you find and filter feeds. See Tags. |
| Feed image | The feed’s logo or cover. Open Select and choose Browse images from your Media Library, Upload a file up to 5 MB, pick a photo from Unsplash, or make one in AI Studio. Without an image, Feedigy uses a default one. |
Each original feed counts toward your plan’s feed limit. If you have no room left, remove a feed, buy a feed add-on or upgrade your plan.
After you save, the page becomes Edit original feed. Select Compose your first post to start writing.
Write a feed post
Section titled “Write a feed post”A feed post is an article inside an original feed. To start one:
- Select New post in the sidebar, then Feed post.
- Select New Feed Post on the Content Feeds page.
- Select Compose on the feed’s edit page, or Compose new post in a feed’s ⋮ menu.
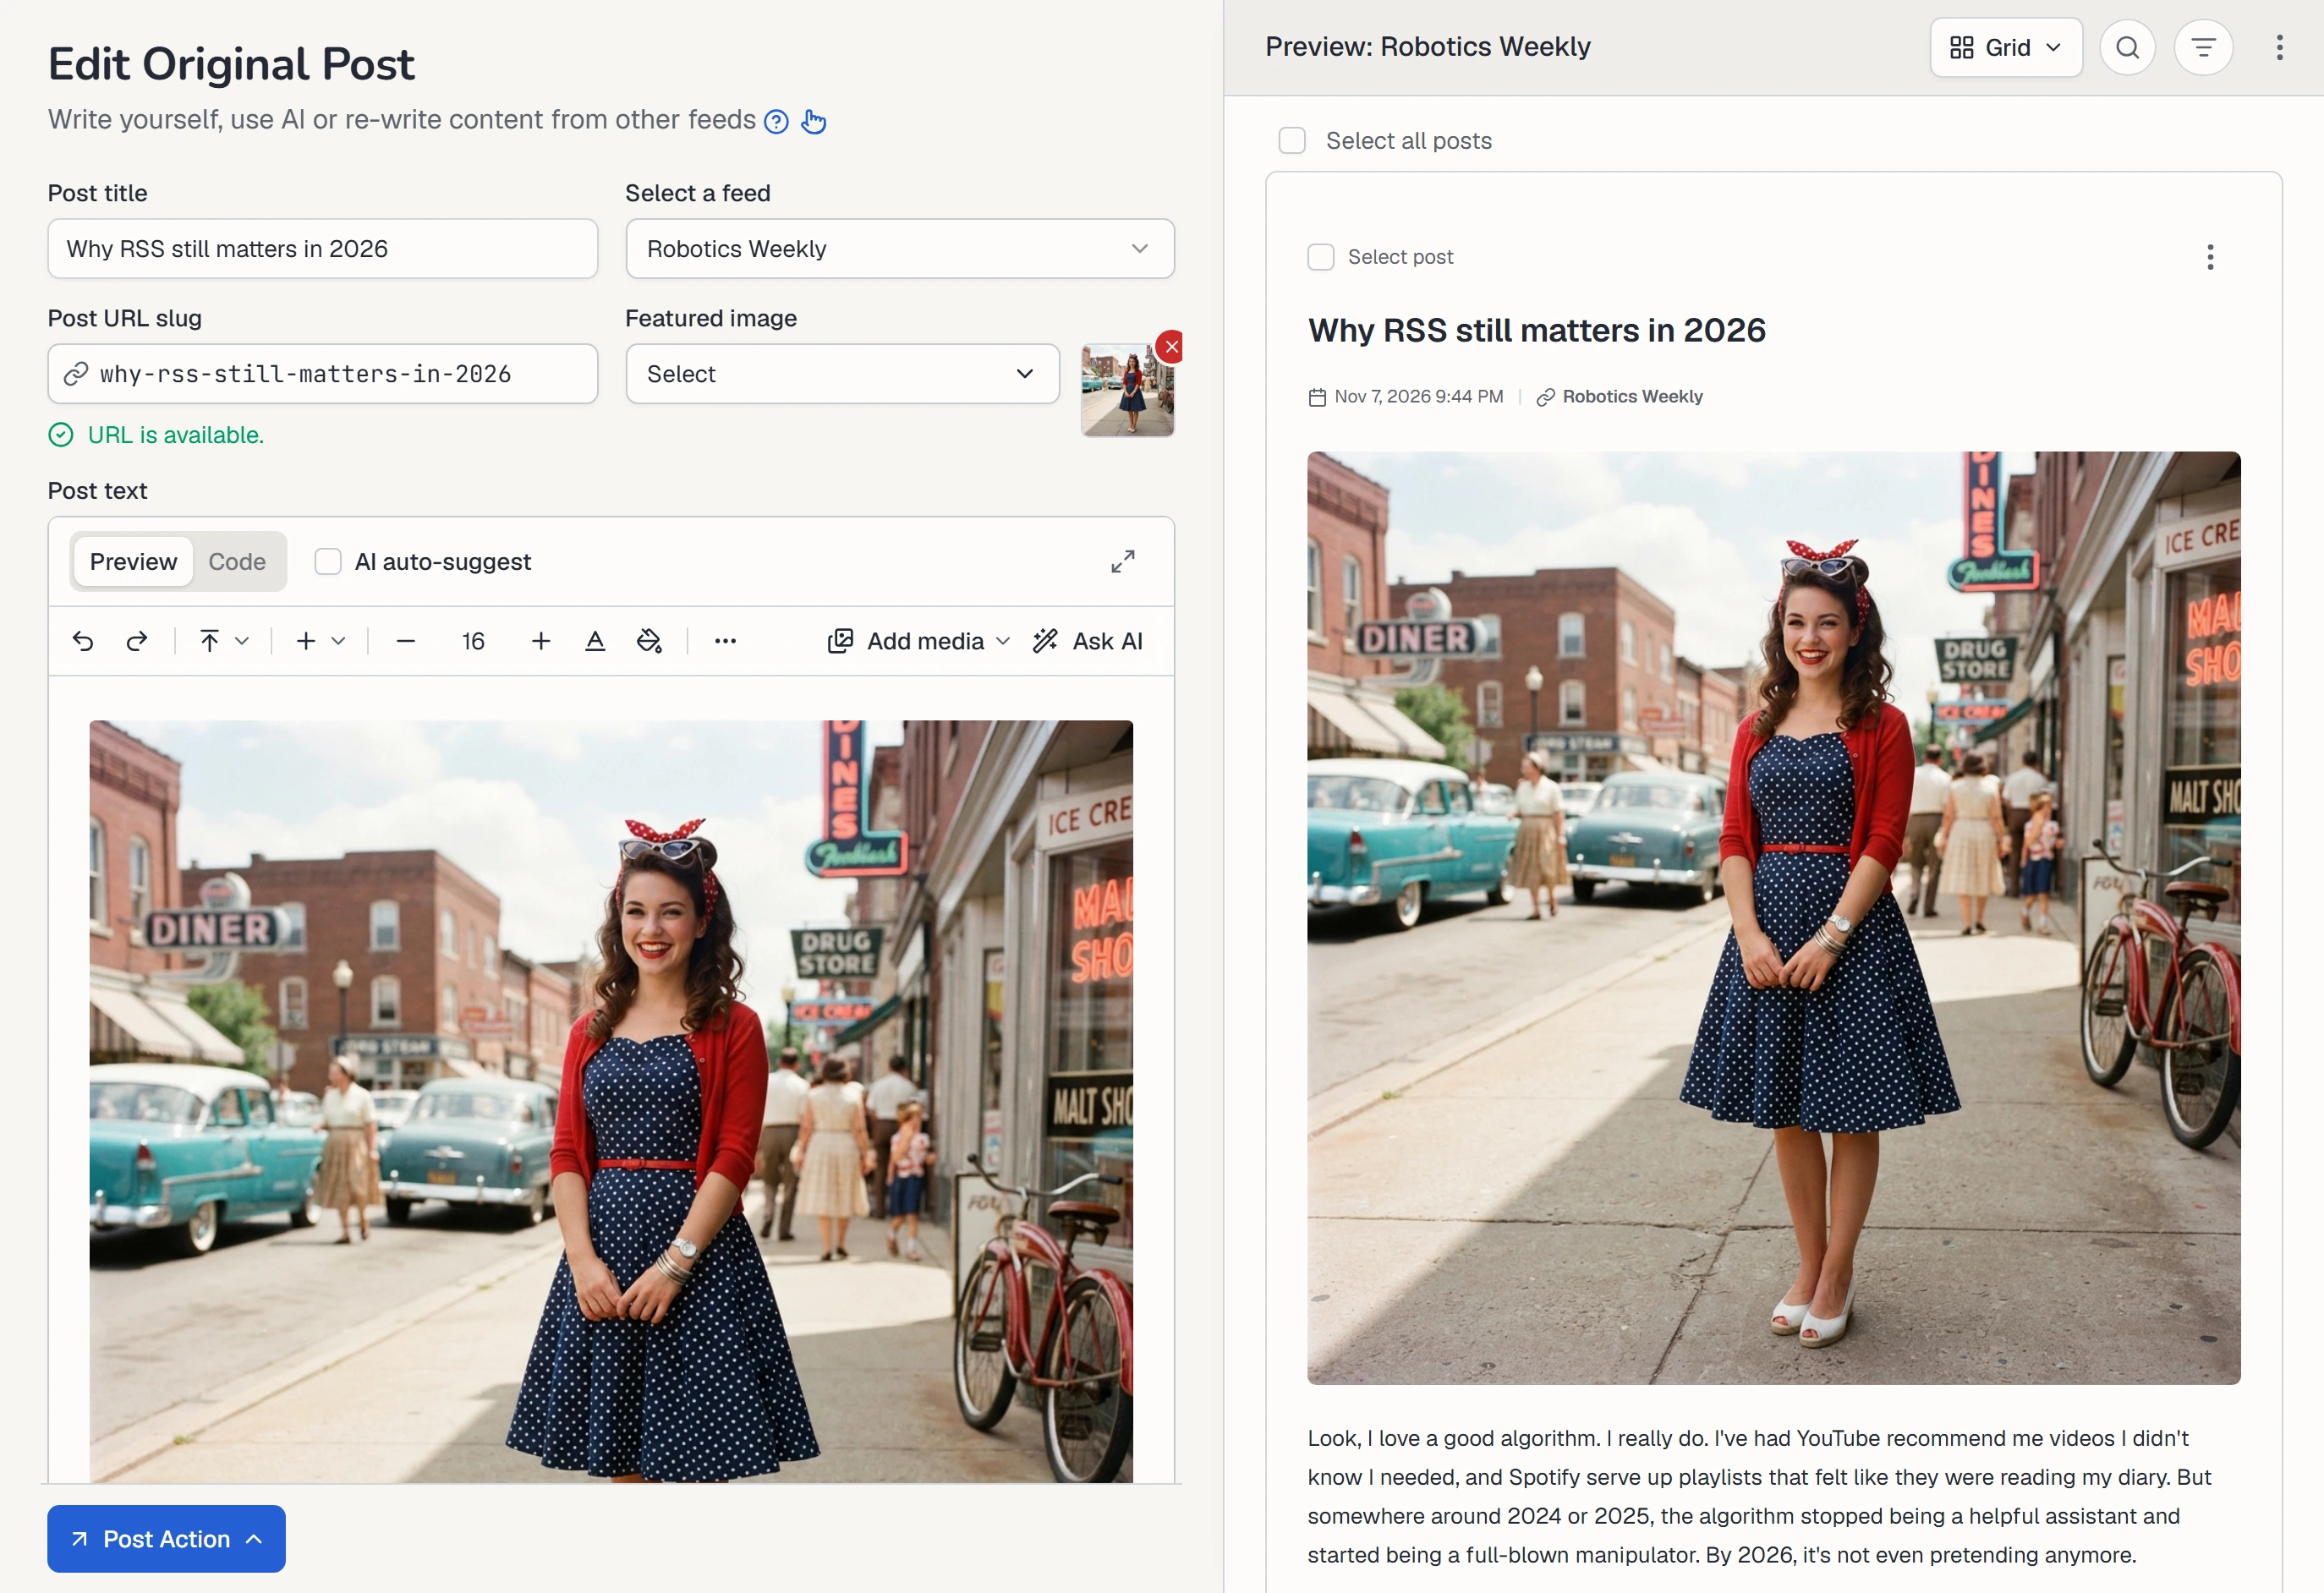
The New feed post page has the editor on the left and a live preview of the feed on the right. The preview changes as you type. On narrow screens, select Preview to open it.
Post fields
Section titled “Post fields”- Post title: required, up to 255 characters.
- Select a feed: the original feed the post belongs to.
- Post URL slug: the end of the post’s own web address, for example
https://feedigy.com/o/my-blog/my-first-post. Feedigy fills it in from the title and checks that the feed has no other post with it. - Featured image: the post’s main picture. See Add a featured image.
- Post text: the body of the post. See The editor.
- Author: type a name, or pick one you used before. Use your own name, a pen name or your brand. Feedigy saves each new name for next time.
- Categories/Tags: up to 20 tags. Select the wand icon to let AI suggest tags from your title and text.
Add a featured image
Section titled “Add a featured image”The featured image is the main picture of a post, like the cover photo of a blog article. Feedigy shows it:
- above the post on your feed’s public page and on the post’s own page,
- in the RSS feed, so RSS readers and other apps show it next to the title,
- on the post’s card in feed previews,
- in the posts Auto-Publishers send to your channels.
A featured image is optional, but posts with one get more attention on social networks.
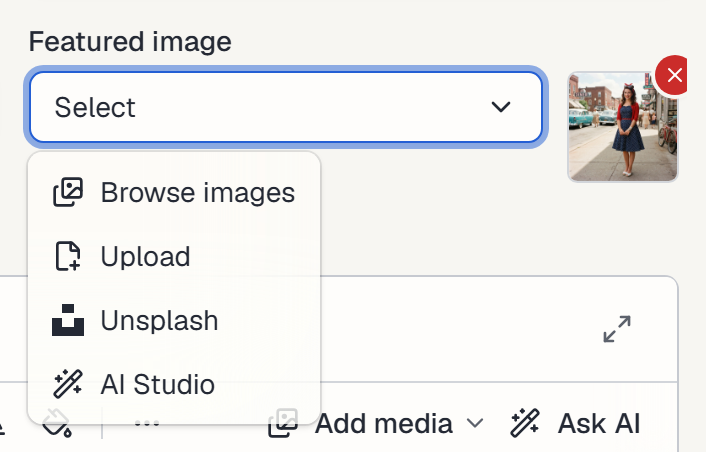
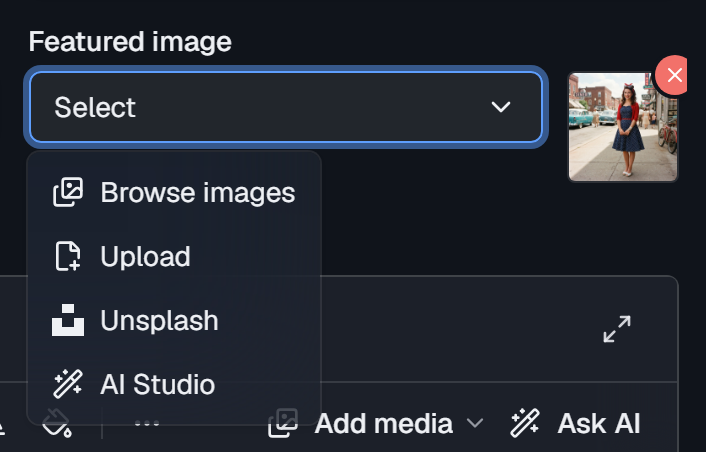
Open Select under Featured image and choose where the image comes from:
- Browse images: pick an image from your Media Library.
- Upload: choose an image file from your computer, up to 5 MB.
- Unsplash: search free photos on Unsplash. Feedigy copies the photo to your Media Library.
- AI Studio: describe an image and let AI make it. See AI Studio.
A thumbnail of the image appears next to the field. To remove the image, select the red × on the thumbnail.
The editor
Section titled “The editor”The toolbar has the usual formatting tools: undo and redo, headings, font size, text and background colour, lists, alignment, links, tables and emoji. Some tools are under ⋯ when the editor is narrow. You can also type / at the start of a line to insert a heading, list, table, quote, callout, columns, image, video or audio.
- Import: start from a Word (
.docx), Markdown (.md) or HTML file. - Full screen (the arrows at the top right): write without the rest of the page. Select it again to exit.
Add media to a post
Section titled “Add media to a post”Use Add media in the toolbar to put images, videos and audio inside the post text. Media appears where your cursor is.
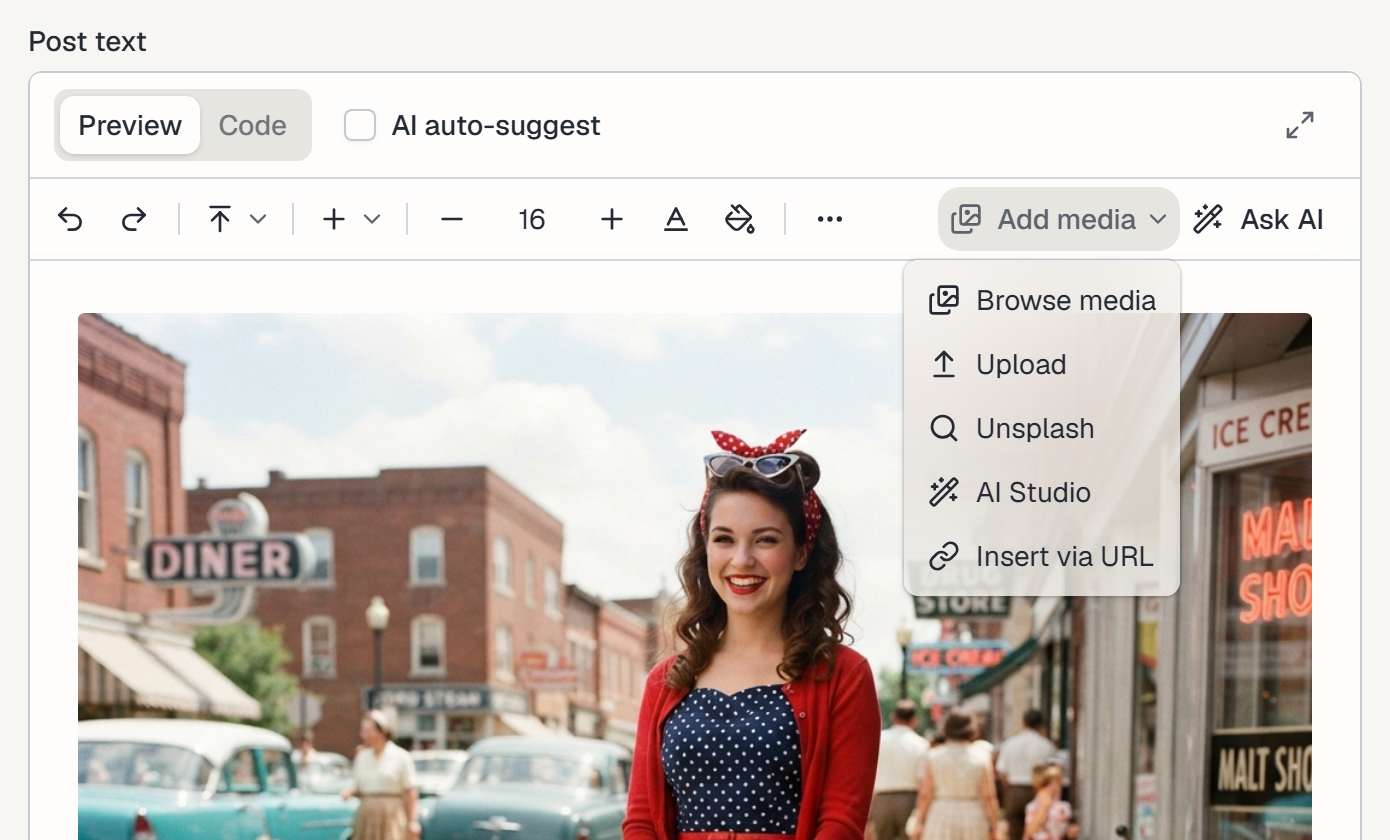
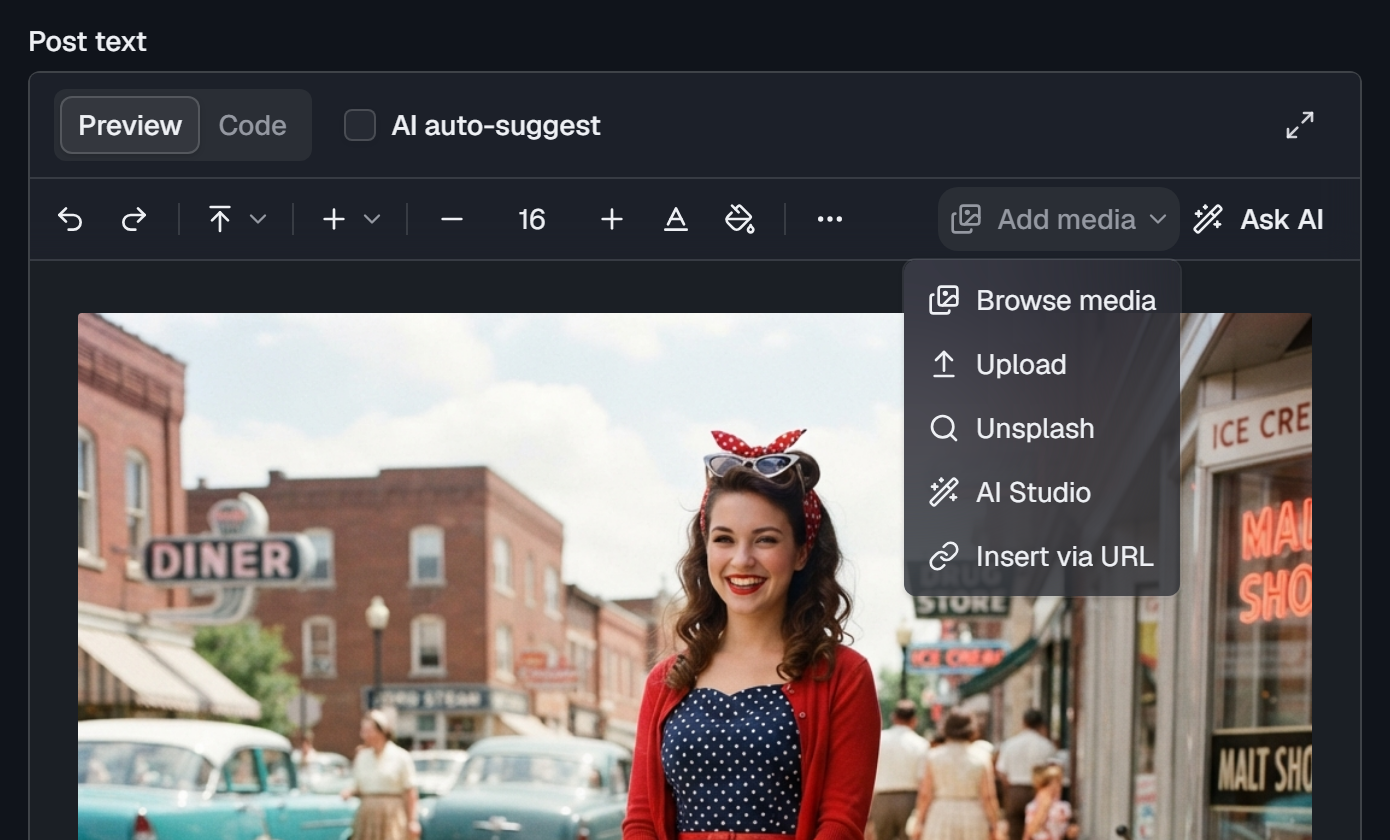
- Browse media: pick images, videos or audio from your Media Library.
- Upload: add a file from your computer. Feedigy also saves it to your Media Library.
- Unsplash: insert a free photo from Unsplash.
- AI Studio: make an image, video or audio clip with AI and insert it. See AI Studio.
- Insert via URL: paste the web address of an image, video or audio file.
Select an image in the text to resize it, align it, add a caption, or edit it in AI Studio.
Ask AI to write or edit text
Section titled “Ask AI to write or edit text”Ask AI writes new text or changes the text you have. Each AI request uses AI credits. See Billing & Usage.
- Select the text you want to change. To write new text, put the cursor on an empty line instead.
- Select Ask AI in the toolbar. You can also press
Ctrl+J(⌘Jon a Mac), or type/and choose Ask AI. - Choose an action, or type your own request in Ask AI anything… and press Enter.
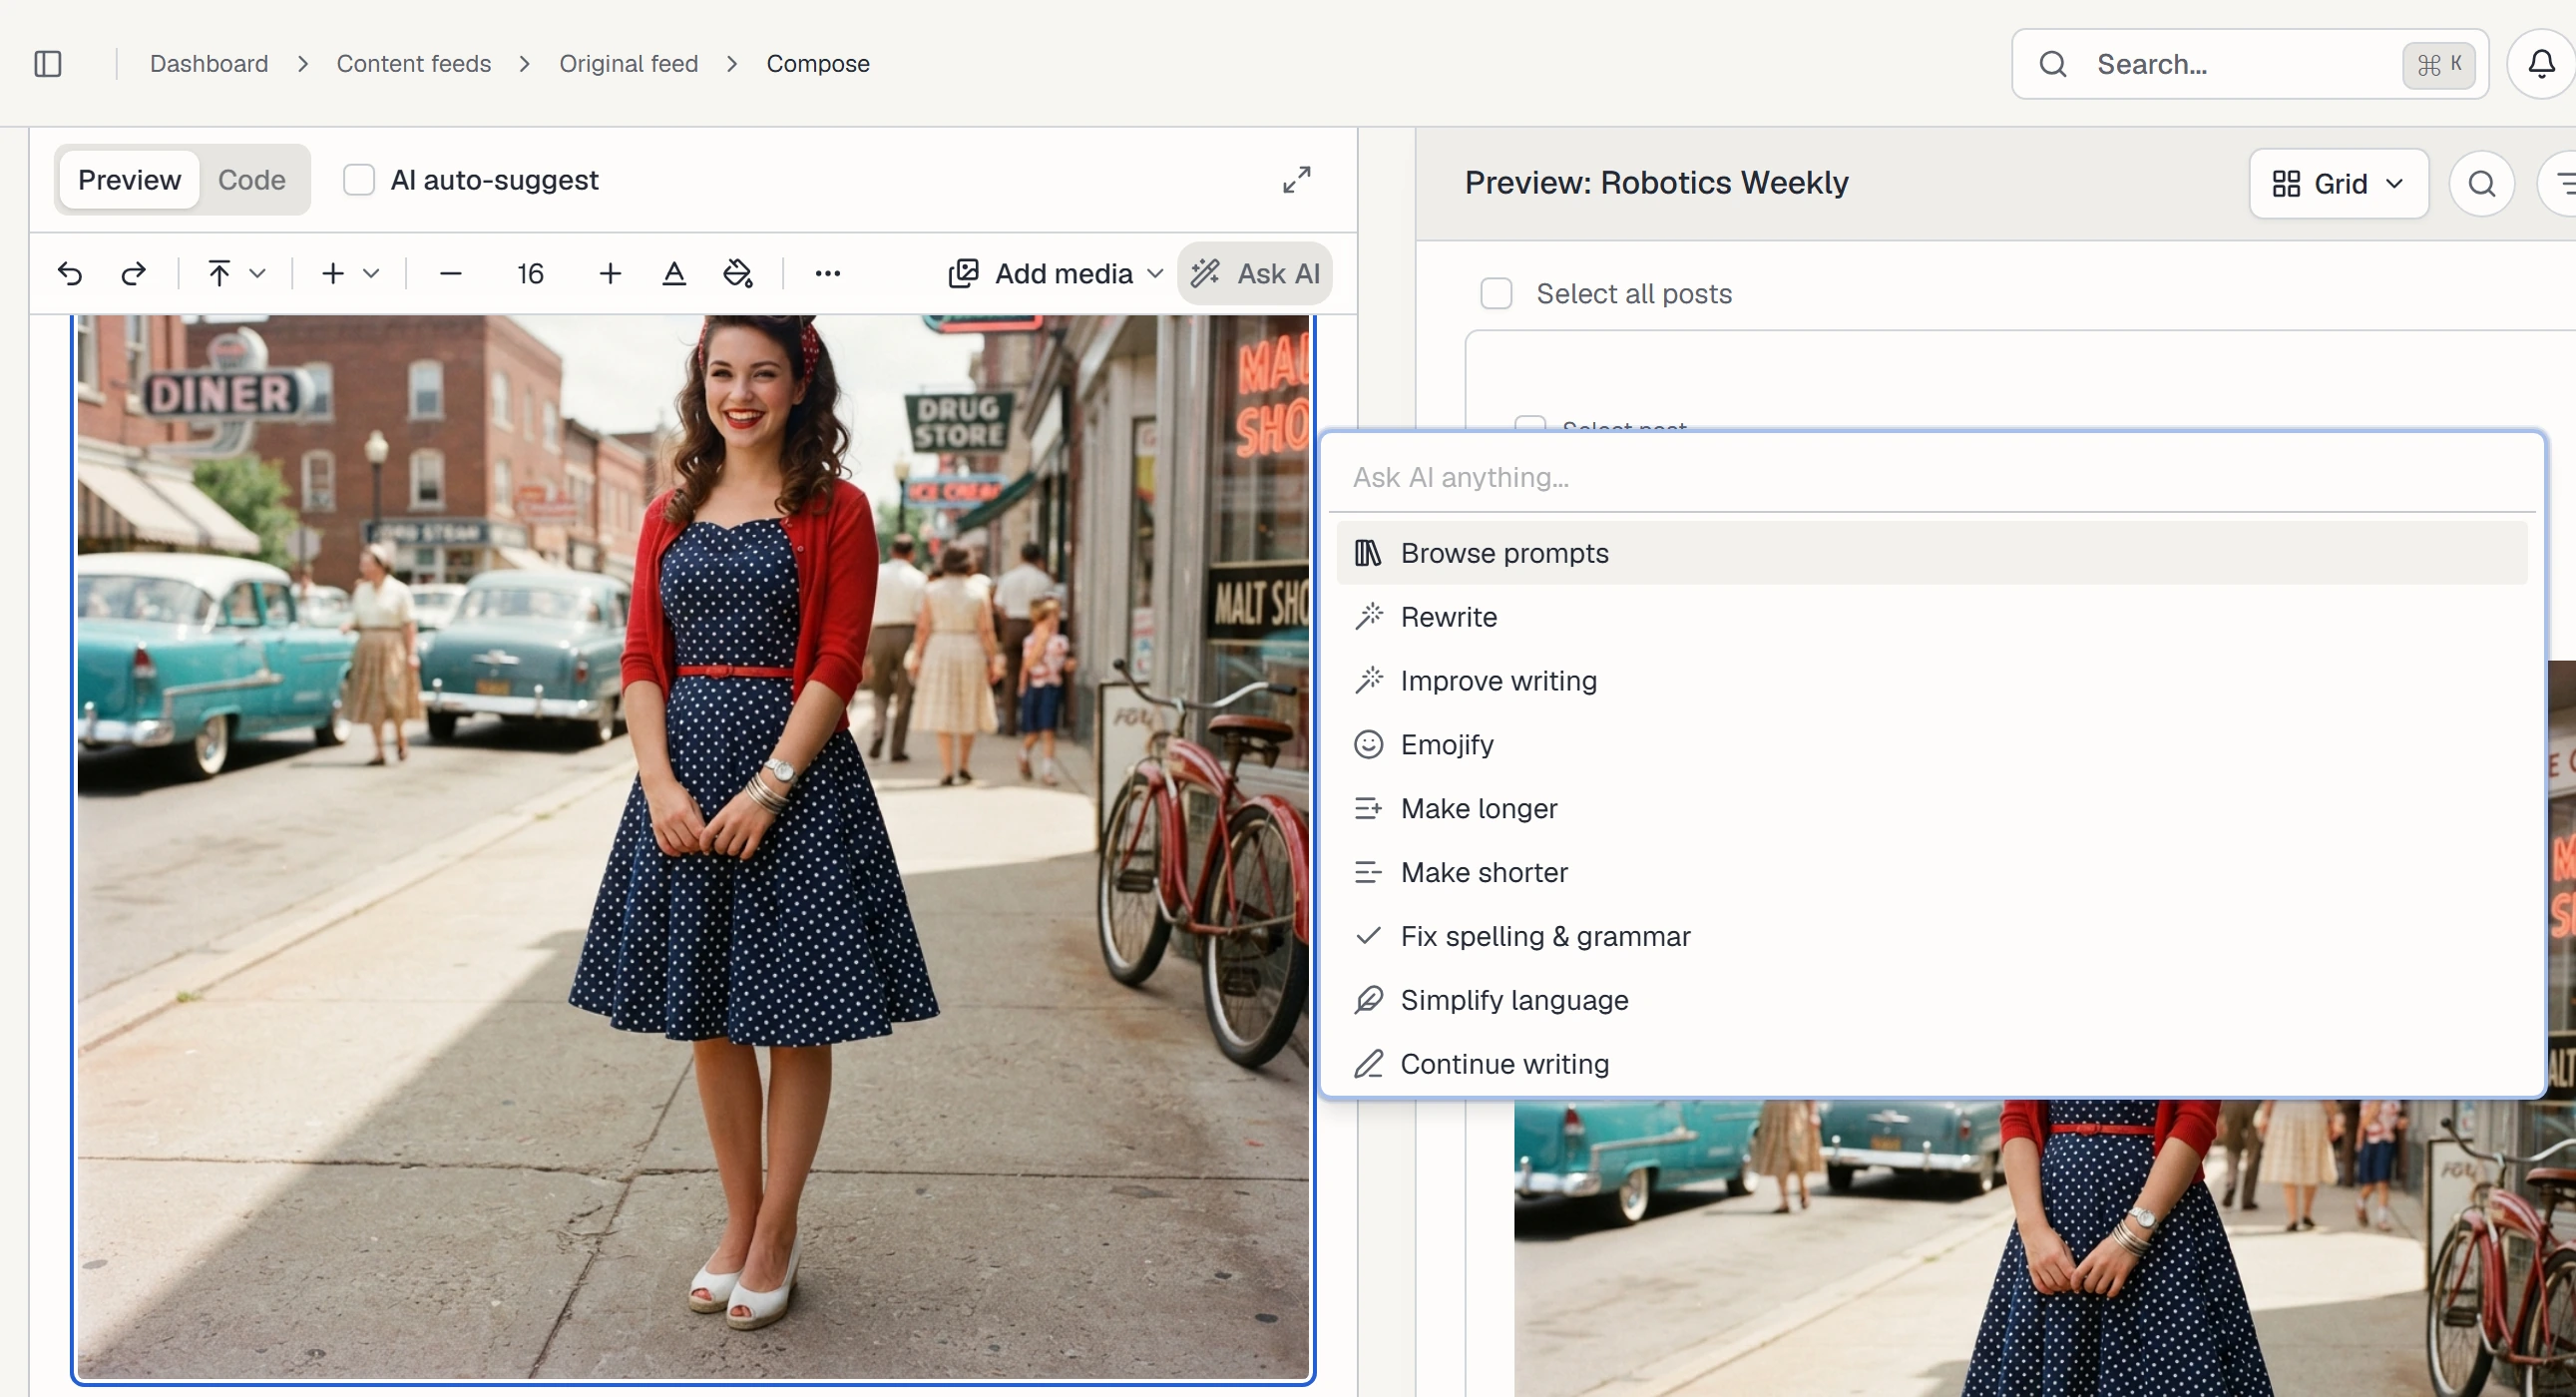
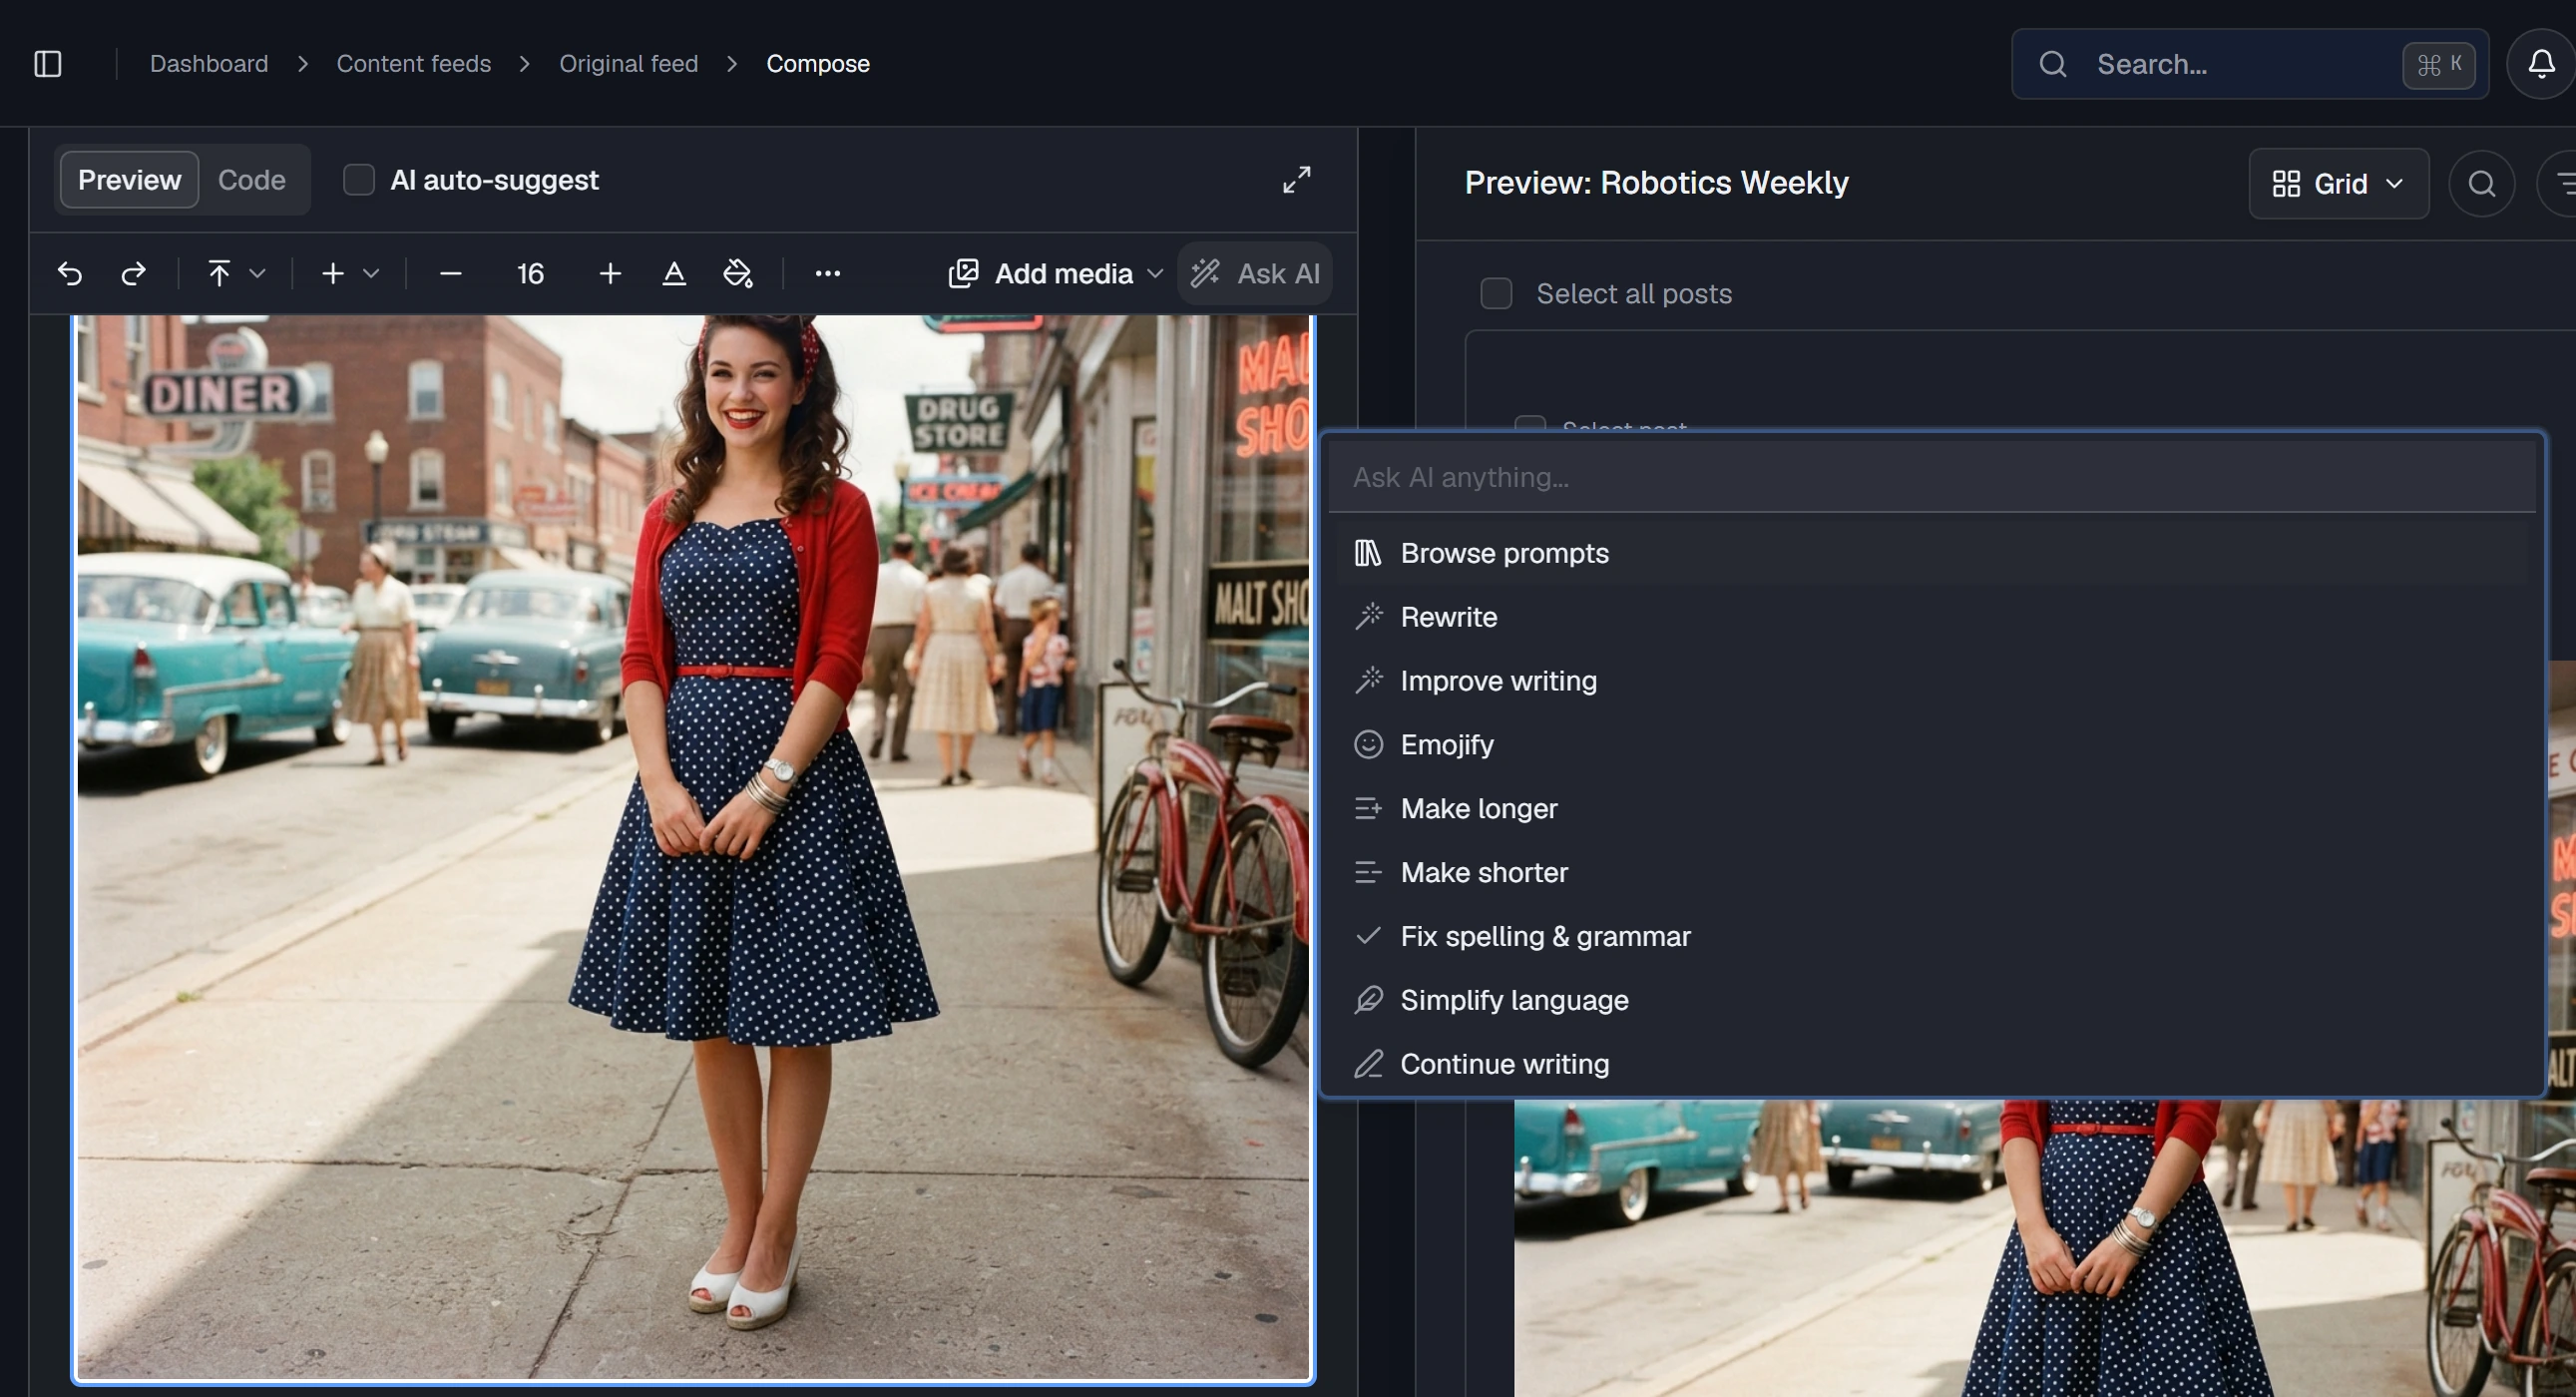
The actions are Rewrite, Improve writing, Emojify, Make longer, Make shorter, Fix spelling & grammar, Simplify language, Continue writing and Add a summary.
AI shows its answer in the editor. Then choose:
- Accept: keep the new text. For selected text, it replaces your selection.
- Insert below: keep your text and add the new text under it.
- Discard: throw the answer away.
- Try again: ask for a different answer.
Use the prompts library
Section titled “Use the prompts library”The prompts library has more than 180 ready-made prompts for blog posts, social media, promotions, summaries, translations and more. Select Browse prompts at the top of the Ask AI menu to open it.
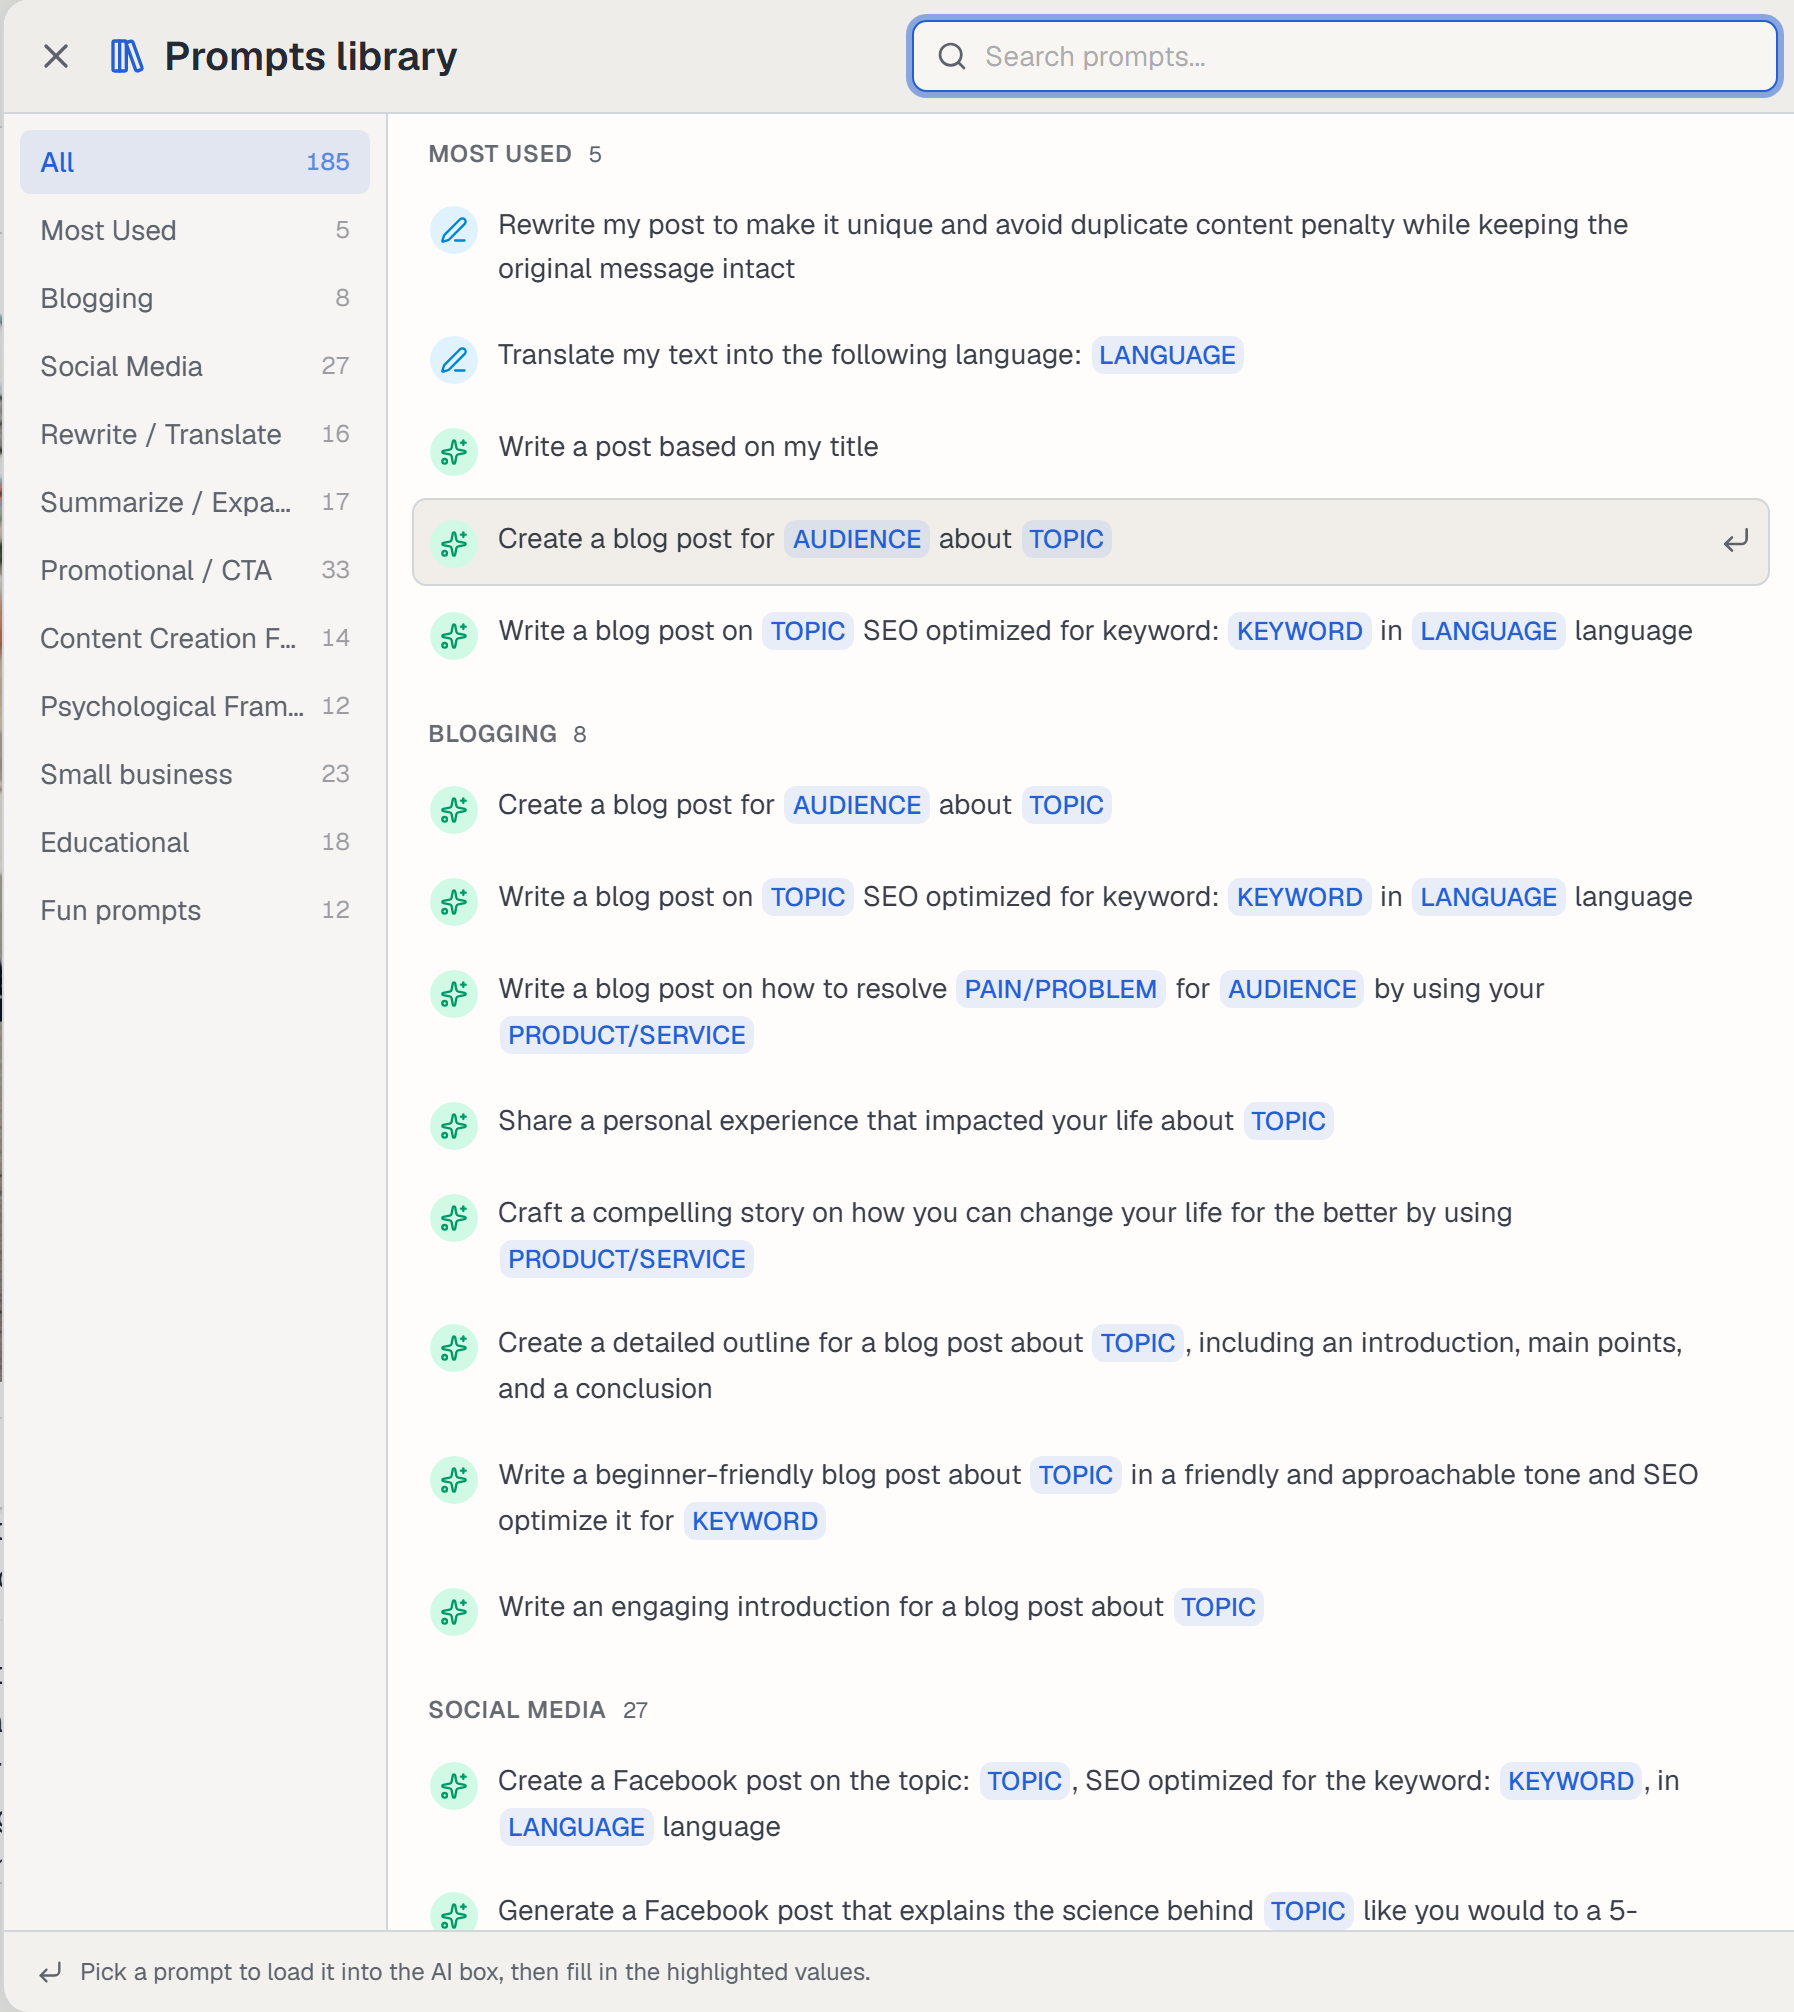
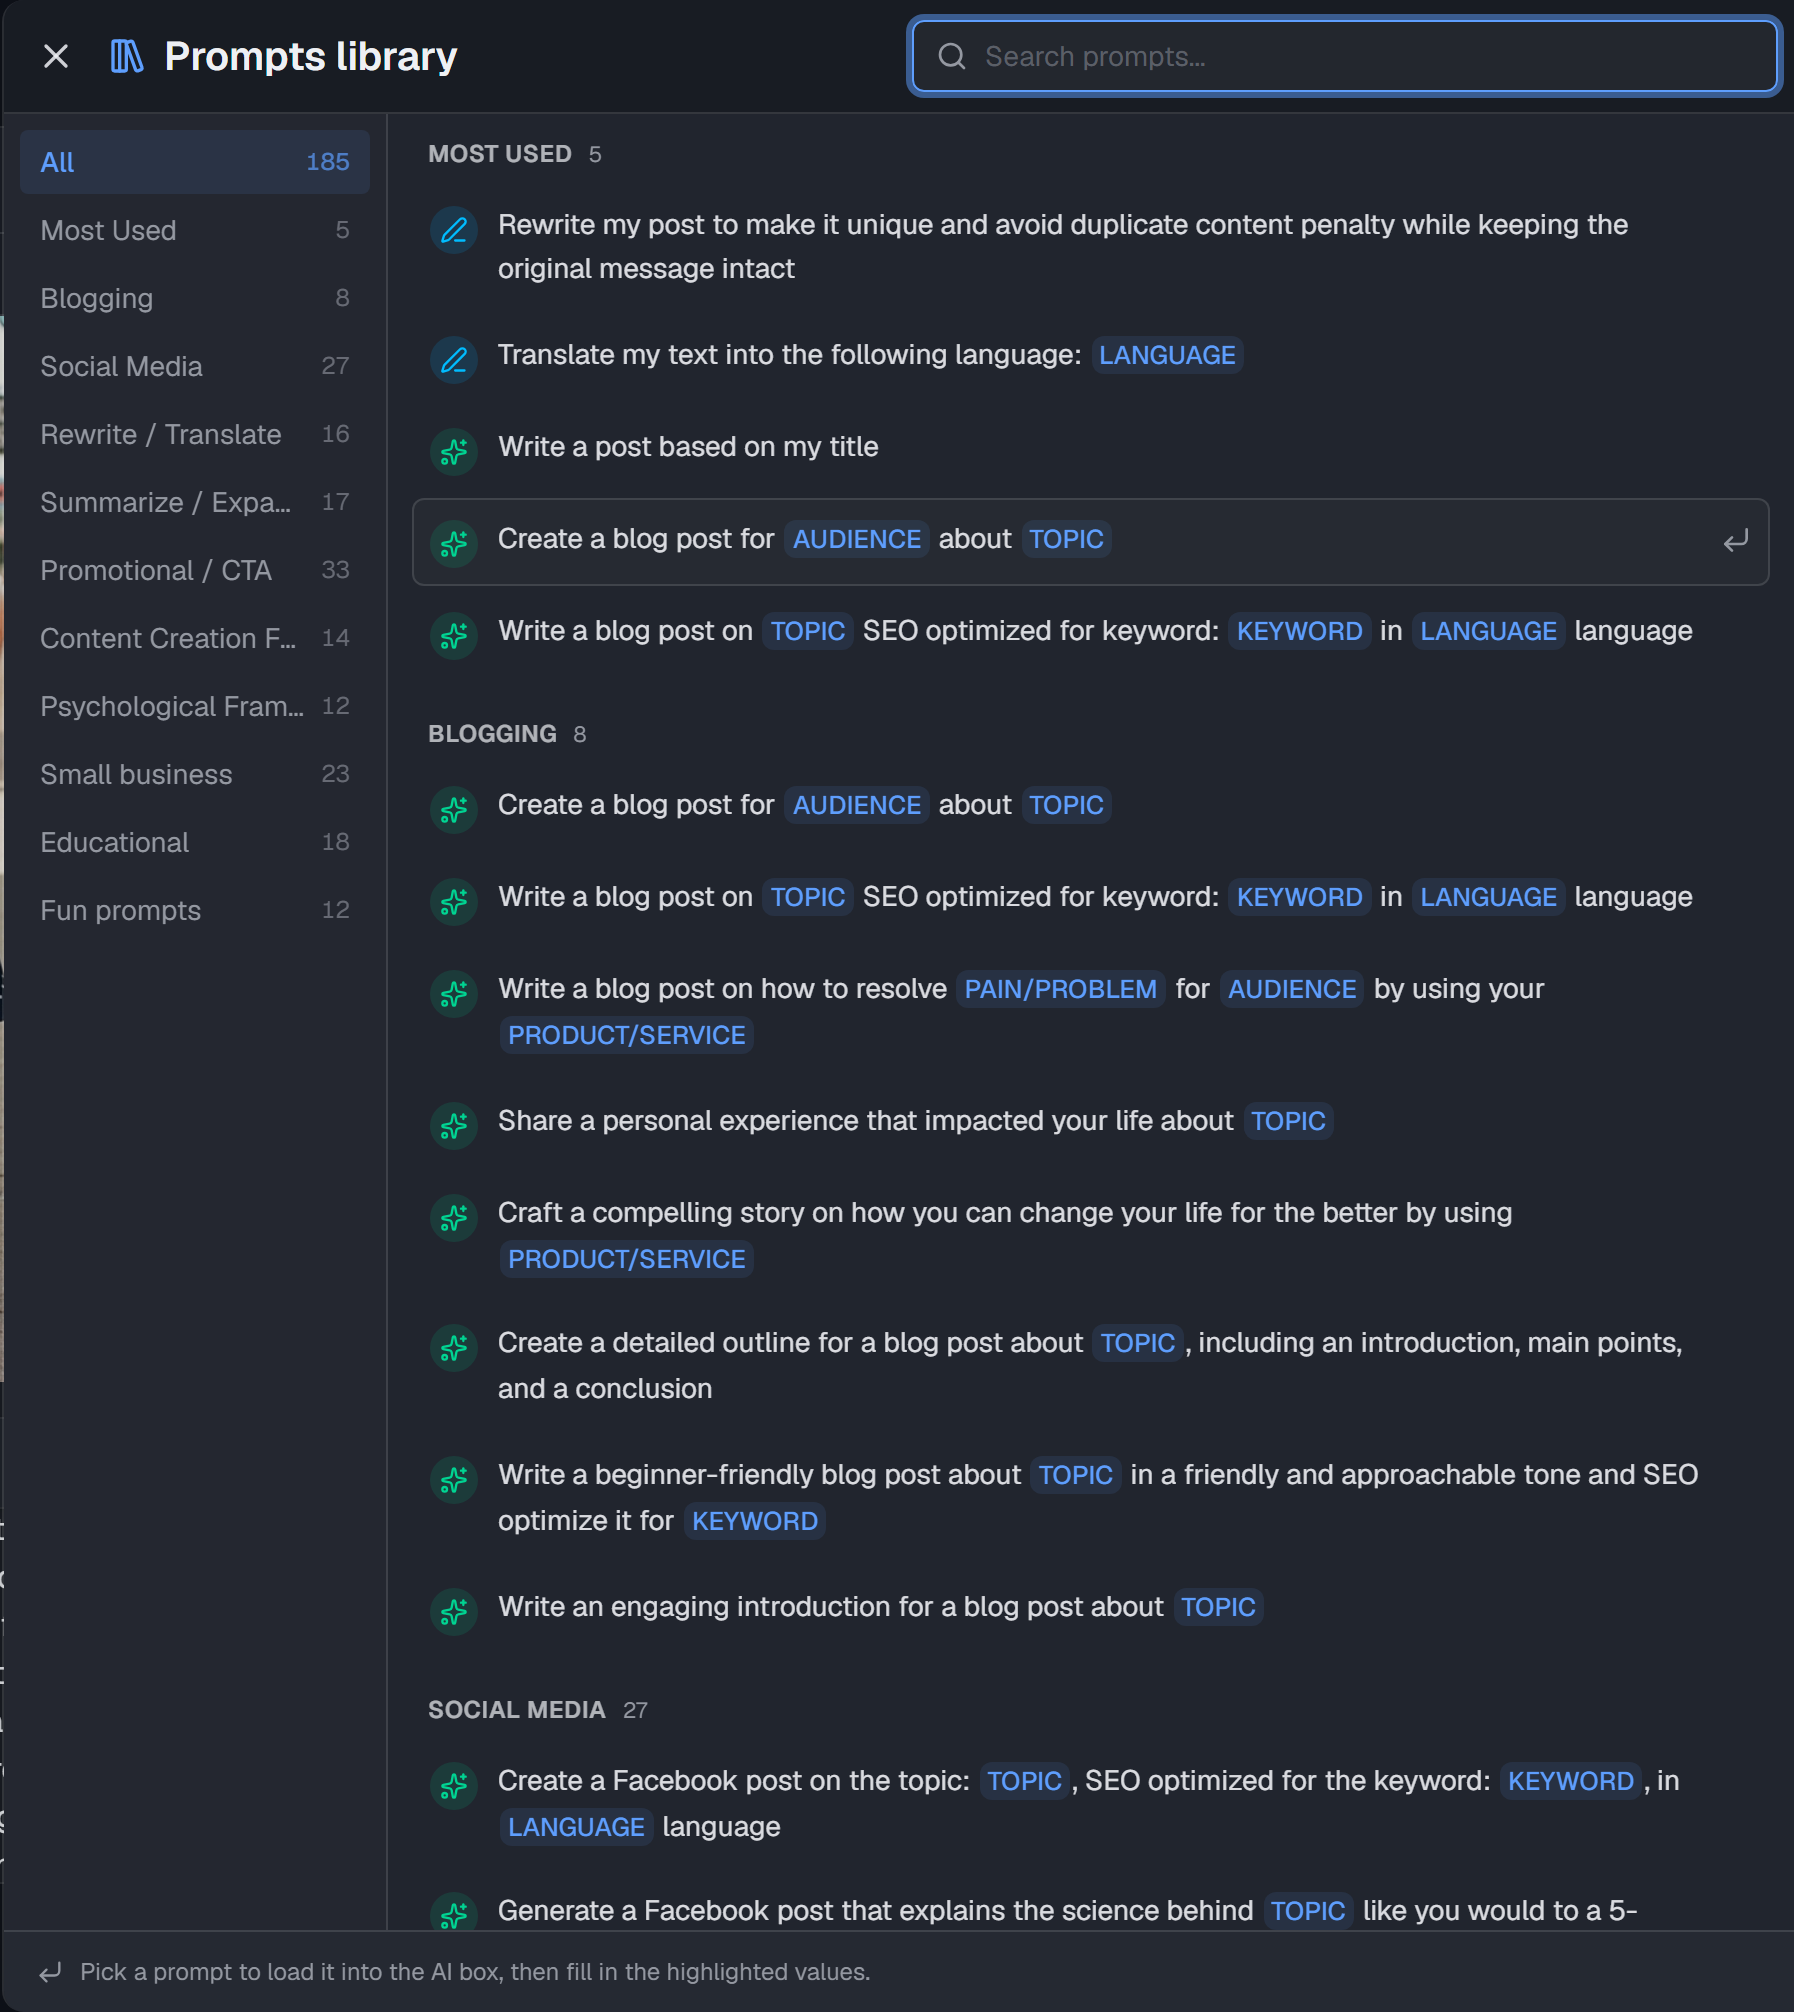
- Pick a category on the left, or type in Search prompts….
- Select a prompt. Feedigy loads it into the Ask AI box.
- Replace the highlighted values, such as
TOPICorAUDIENCE, with your own words. - Press Enter to send it.
The icon before each prompt tells you what it works on. A pen means the prompt works with the text you already have, such as a rewrite or a translation. A sparkle means it starts a new draft. Feedigy shows the prompts that fit what you selected: your selected text, your whole post, or an empty post.
Write faster with AI auto-suggest
Section titled “Write faster with AI auto-suggest”Tick AI auto-suggest above the toolbar. As you type, AI suggests how to continue the sentence in grey text after your cursor. A suggestion appears when you pause after a space.
- Press
Tab, or tap the suggestion, to accept it. - Press
Ctrl+→(⌘→on a Mac) to accept only the next word. - Press
Esc, or keep typing, to ignore it. - Press
Ctrl+Spaceto ask for a suggestion now. This also works when auto-suggest is off.
Each suggestion uses AI credits, so auto-suggest is off until you tick it.
View the post’s HTML code
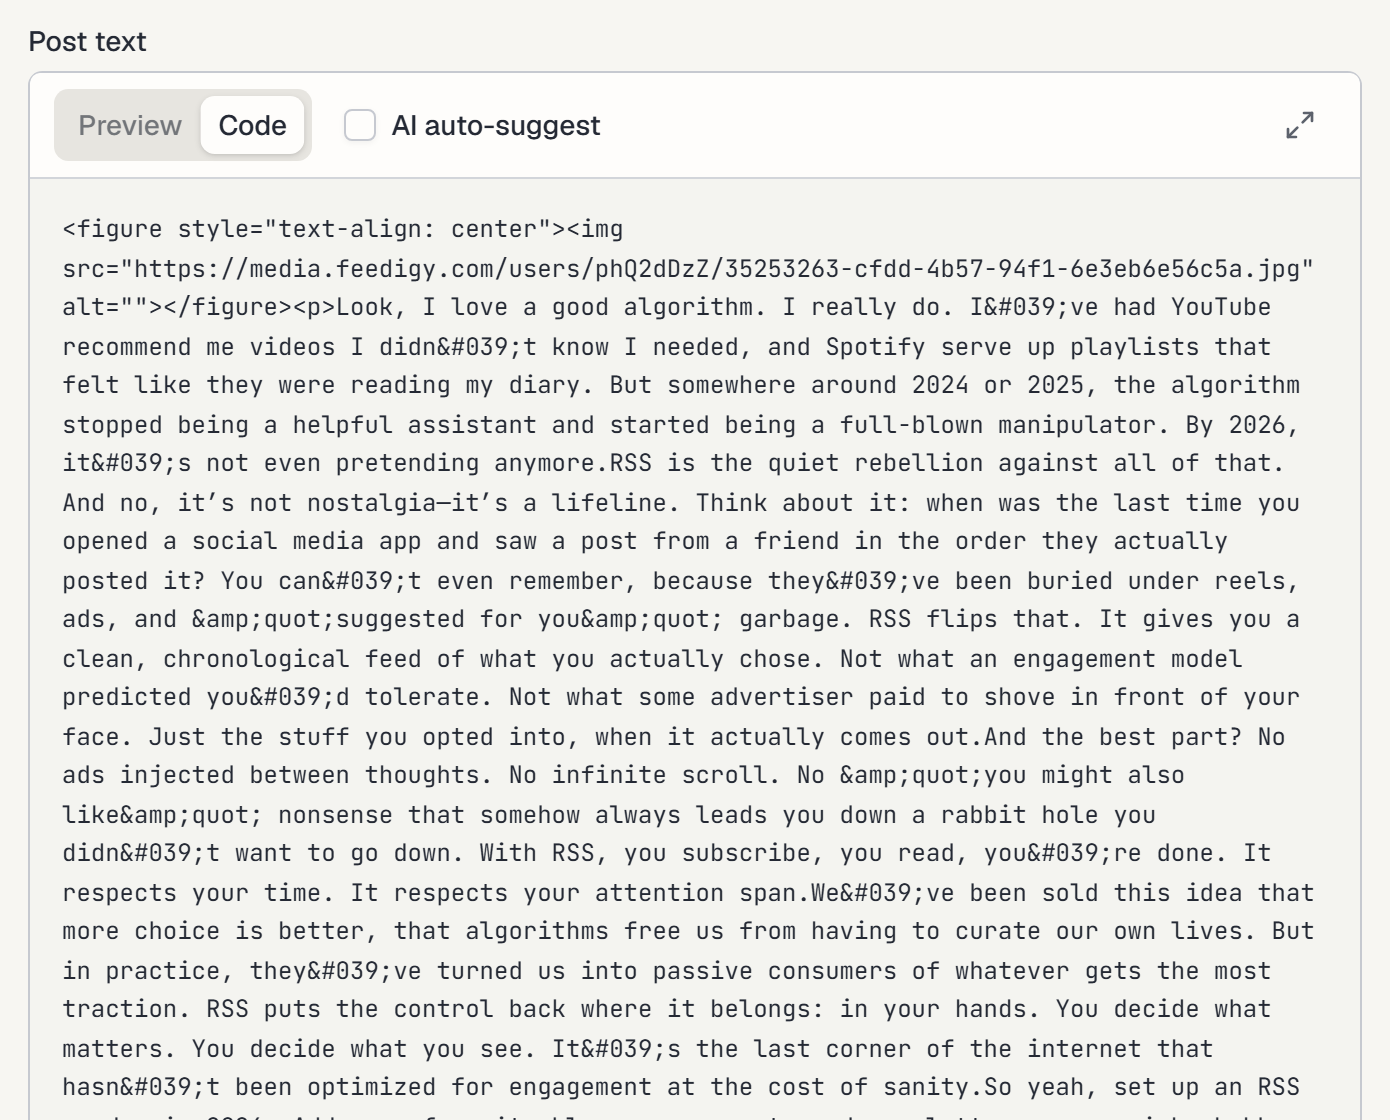
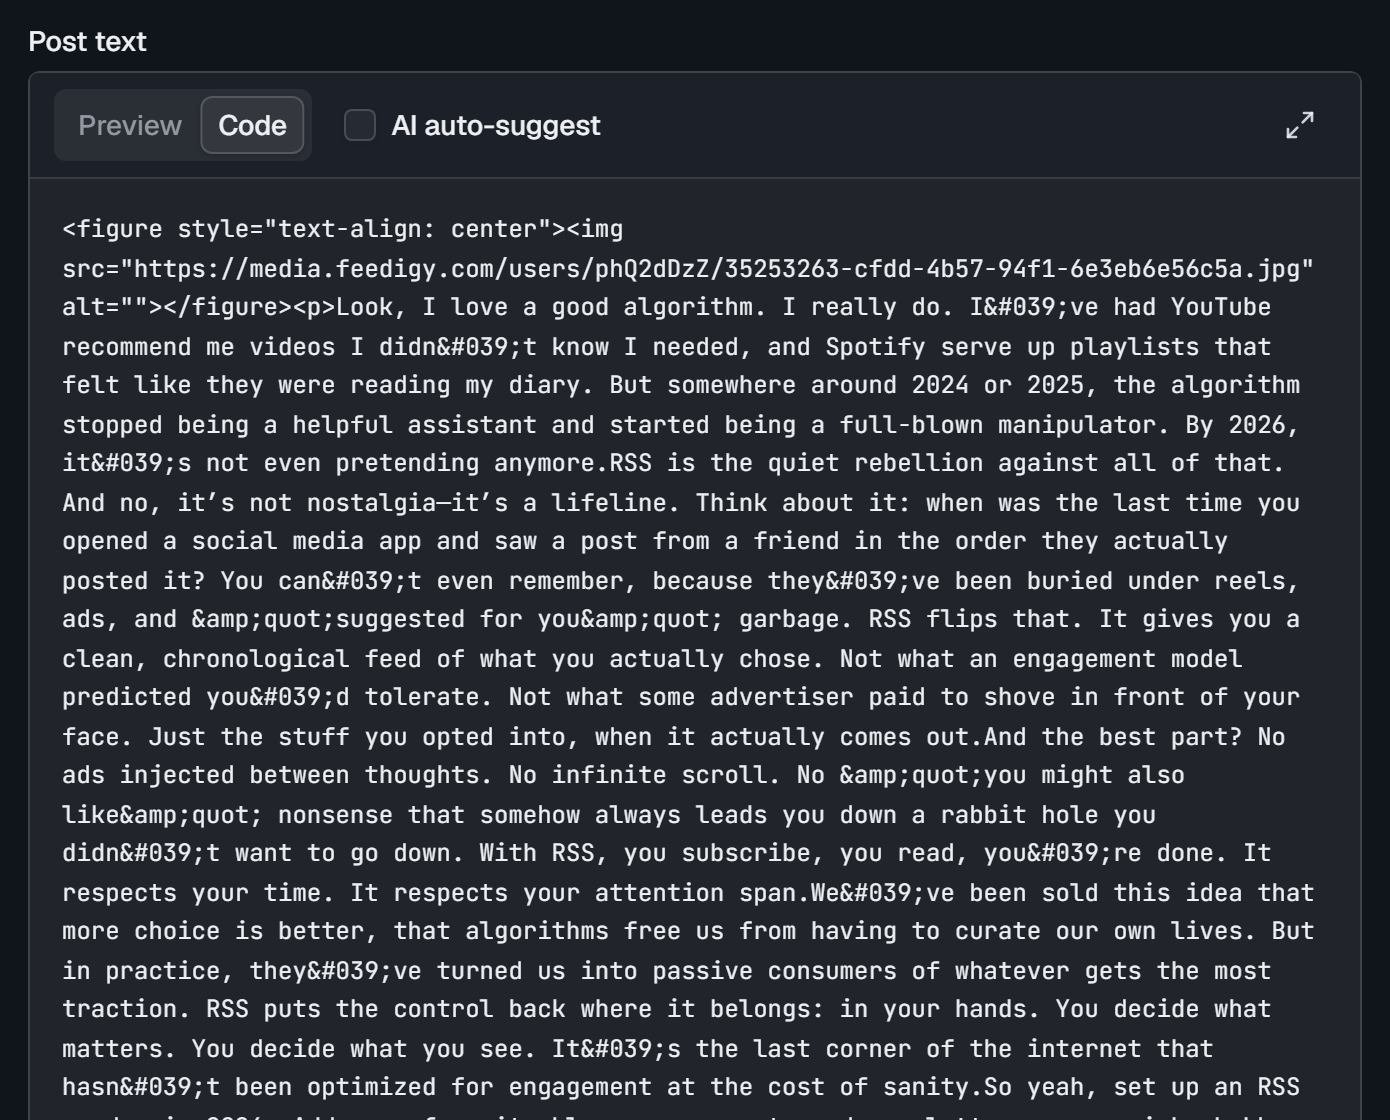
Section titled “View the post’s HTML code”Select the Code tab above the toolbar to see the HTML code of your post. This is the code Feedigy puts in your RSS feed and on your post’s web page. You can copy it from here to use elsewhere. The code is read-only: to edit the post, go back to the Preview tab.
The preview panel
Section titled “The preview panel”The panel on the right shows your post as it will look in the feed, on top of the feed’s other posts. Its header has these options:
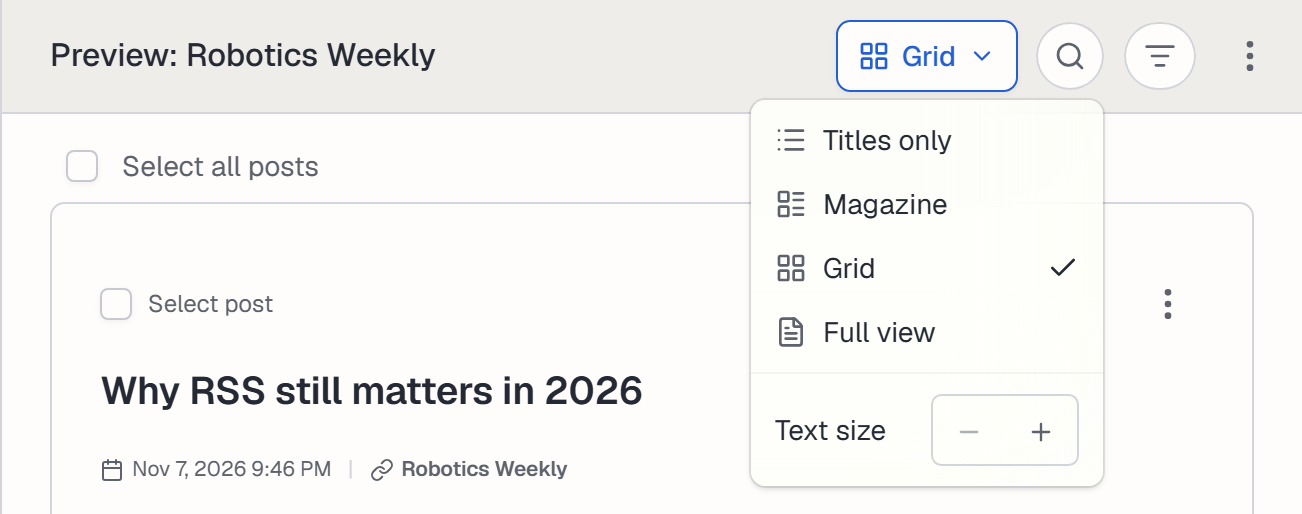
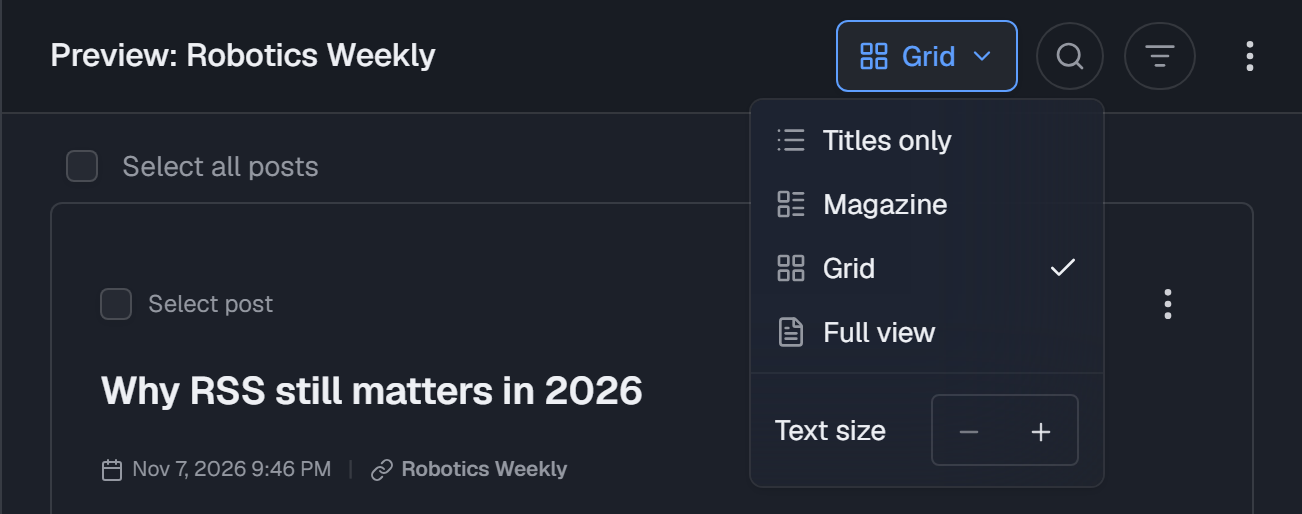
- View mode (shows the current mode, for example Grid): choose Titles only, Magazine, Grid or Full view. Text size makes the preview text smaller or larger.
- Search (the magnifier): find posts in the feed by their words.
- Post status (the filter icon): show All statuses, or only published, delayed or draft posts.
- Feed actions (⋮): Compose new post, Add to auto-publisher, Edit feed, Feed URL, Feed source and Delete feed.
Below the header, tick Select all posts or Select post to work with several posts at once. Each post’s ⋮ menu has the same actions as in Manage posts.
You can also ask Febe AI to draft a post. Febe opens the draft here, ready for you to edit.
Save, publish or schedule a post
Section titled “Save, publish or schedule a post”Open Post Action to choose what happens to the post.
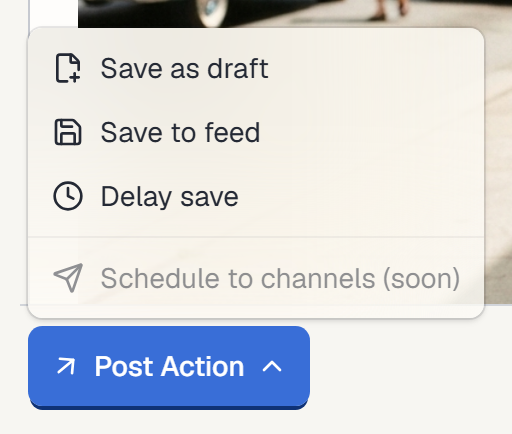
- Save as draft: keeps the post private. It is not in the public feed, and Auto-Publishers ignore it.
- Save to feed: publishes the post now. It appears at the top of the feed, and Auto-Publishers can share it.
- Delay save: publishes the post later. Pick a day and a time, then select Delay save. Feedigy checks for due posts every minute and publishes each one at its time. Until then, the post shows as Delayed. To use a time zone other than your own, select In different time zone.
While you write a new post, Feedigy saves it as a draft by itself once it has a feed, a title and a free URL slug. You can leave the page and finish the post later: select New post in the sidebar and pick the draft under Continue drafts. The bin icon next to Continue drafts deletes all your feed post drafts.
Manage posts
Section titled “Manage posts”The feed’s edit page lists its posts on the right, under Feed posts. You can also preview the feed from the Content Feeds table. Search the posts, or filter them by Status: published, delayed or draft.
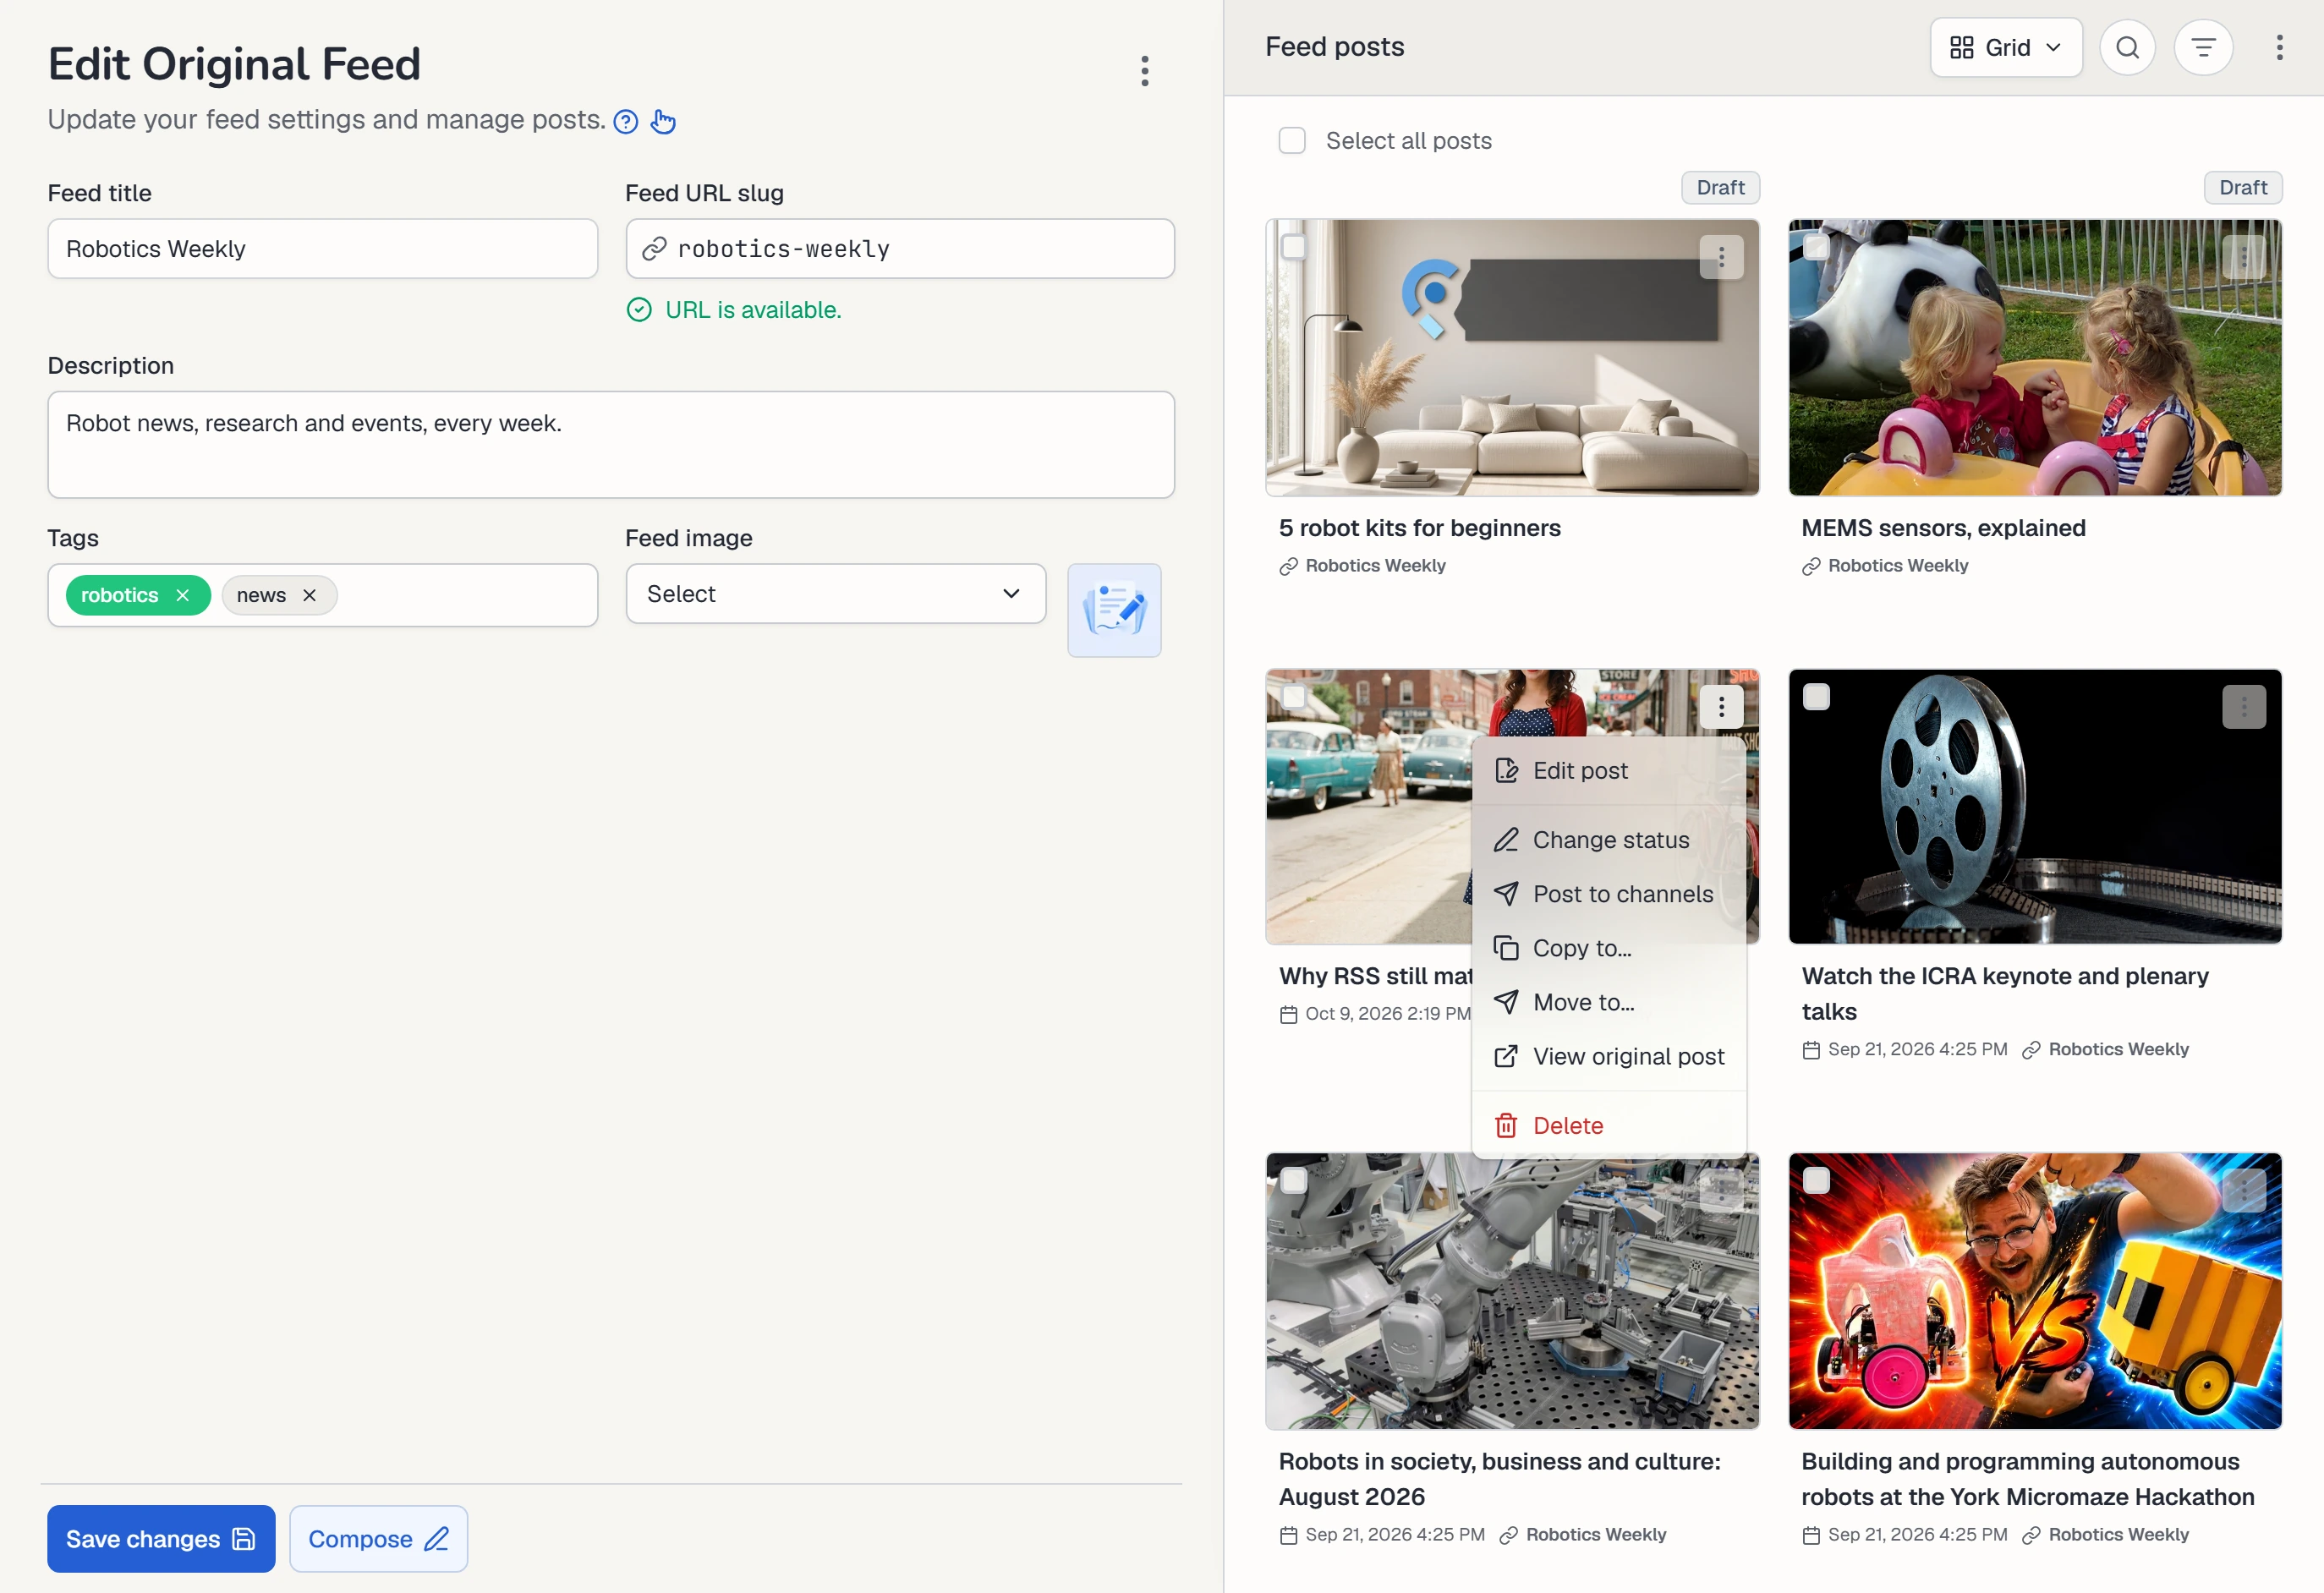
Select ⋮ on a post to:
- Edit post: open it in the editor.
- Change status: make it Published, Delayed or Draft.
- Copy to…: copy it to another original feed.
- Move to…: move it to another original feed.
- Post to channels: send it straight to your connected channels.
- View original post: open the post’s public web page.
- Delete: remove the post.
To act on several posts, tick Select post on each one, or Select all posts.
Reuse posts from other feeds
Section titled “Reuse posts from other feeds”You can copy a post from any feed into an original feed, then rewrite it. In a feed preview, open ⋮ on the post and select Copy to…. Pick your original feed. The copy keeps a Source link to the original article.
Your feed’s public address
Section titled “Your feed’s public address”Every original feed has a public address: https://feedigy.com/o/ followed by the feed’s URL slug. To open it, select Feed URL in the feed’s ⋮ menu.
- RSS readers and other apps get a standard RSS feed with your latest 50 published posts. Each post includes its full text, image, author and tags.
- People in a browser see your feed as a micro blog. It works in any browser, on a computer or a phone, with nothing to install and no sign-in. Each post also has its own web page at
https://feedigy.com/o/your-feed/your-post.
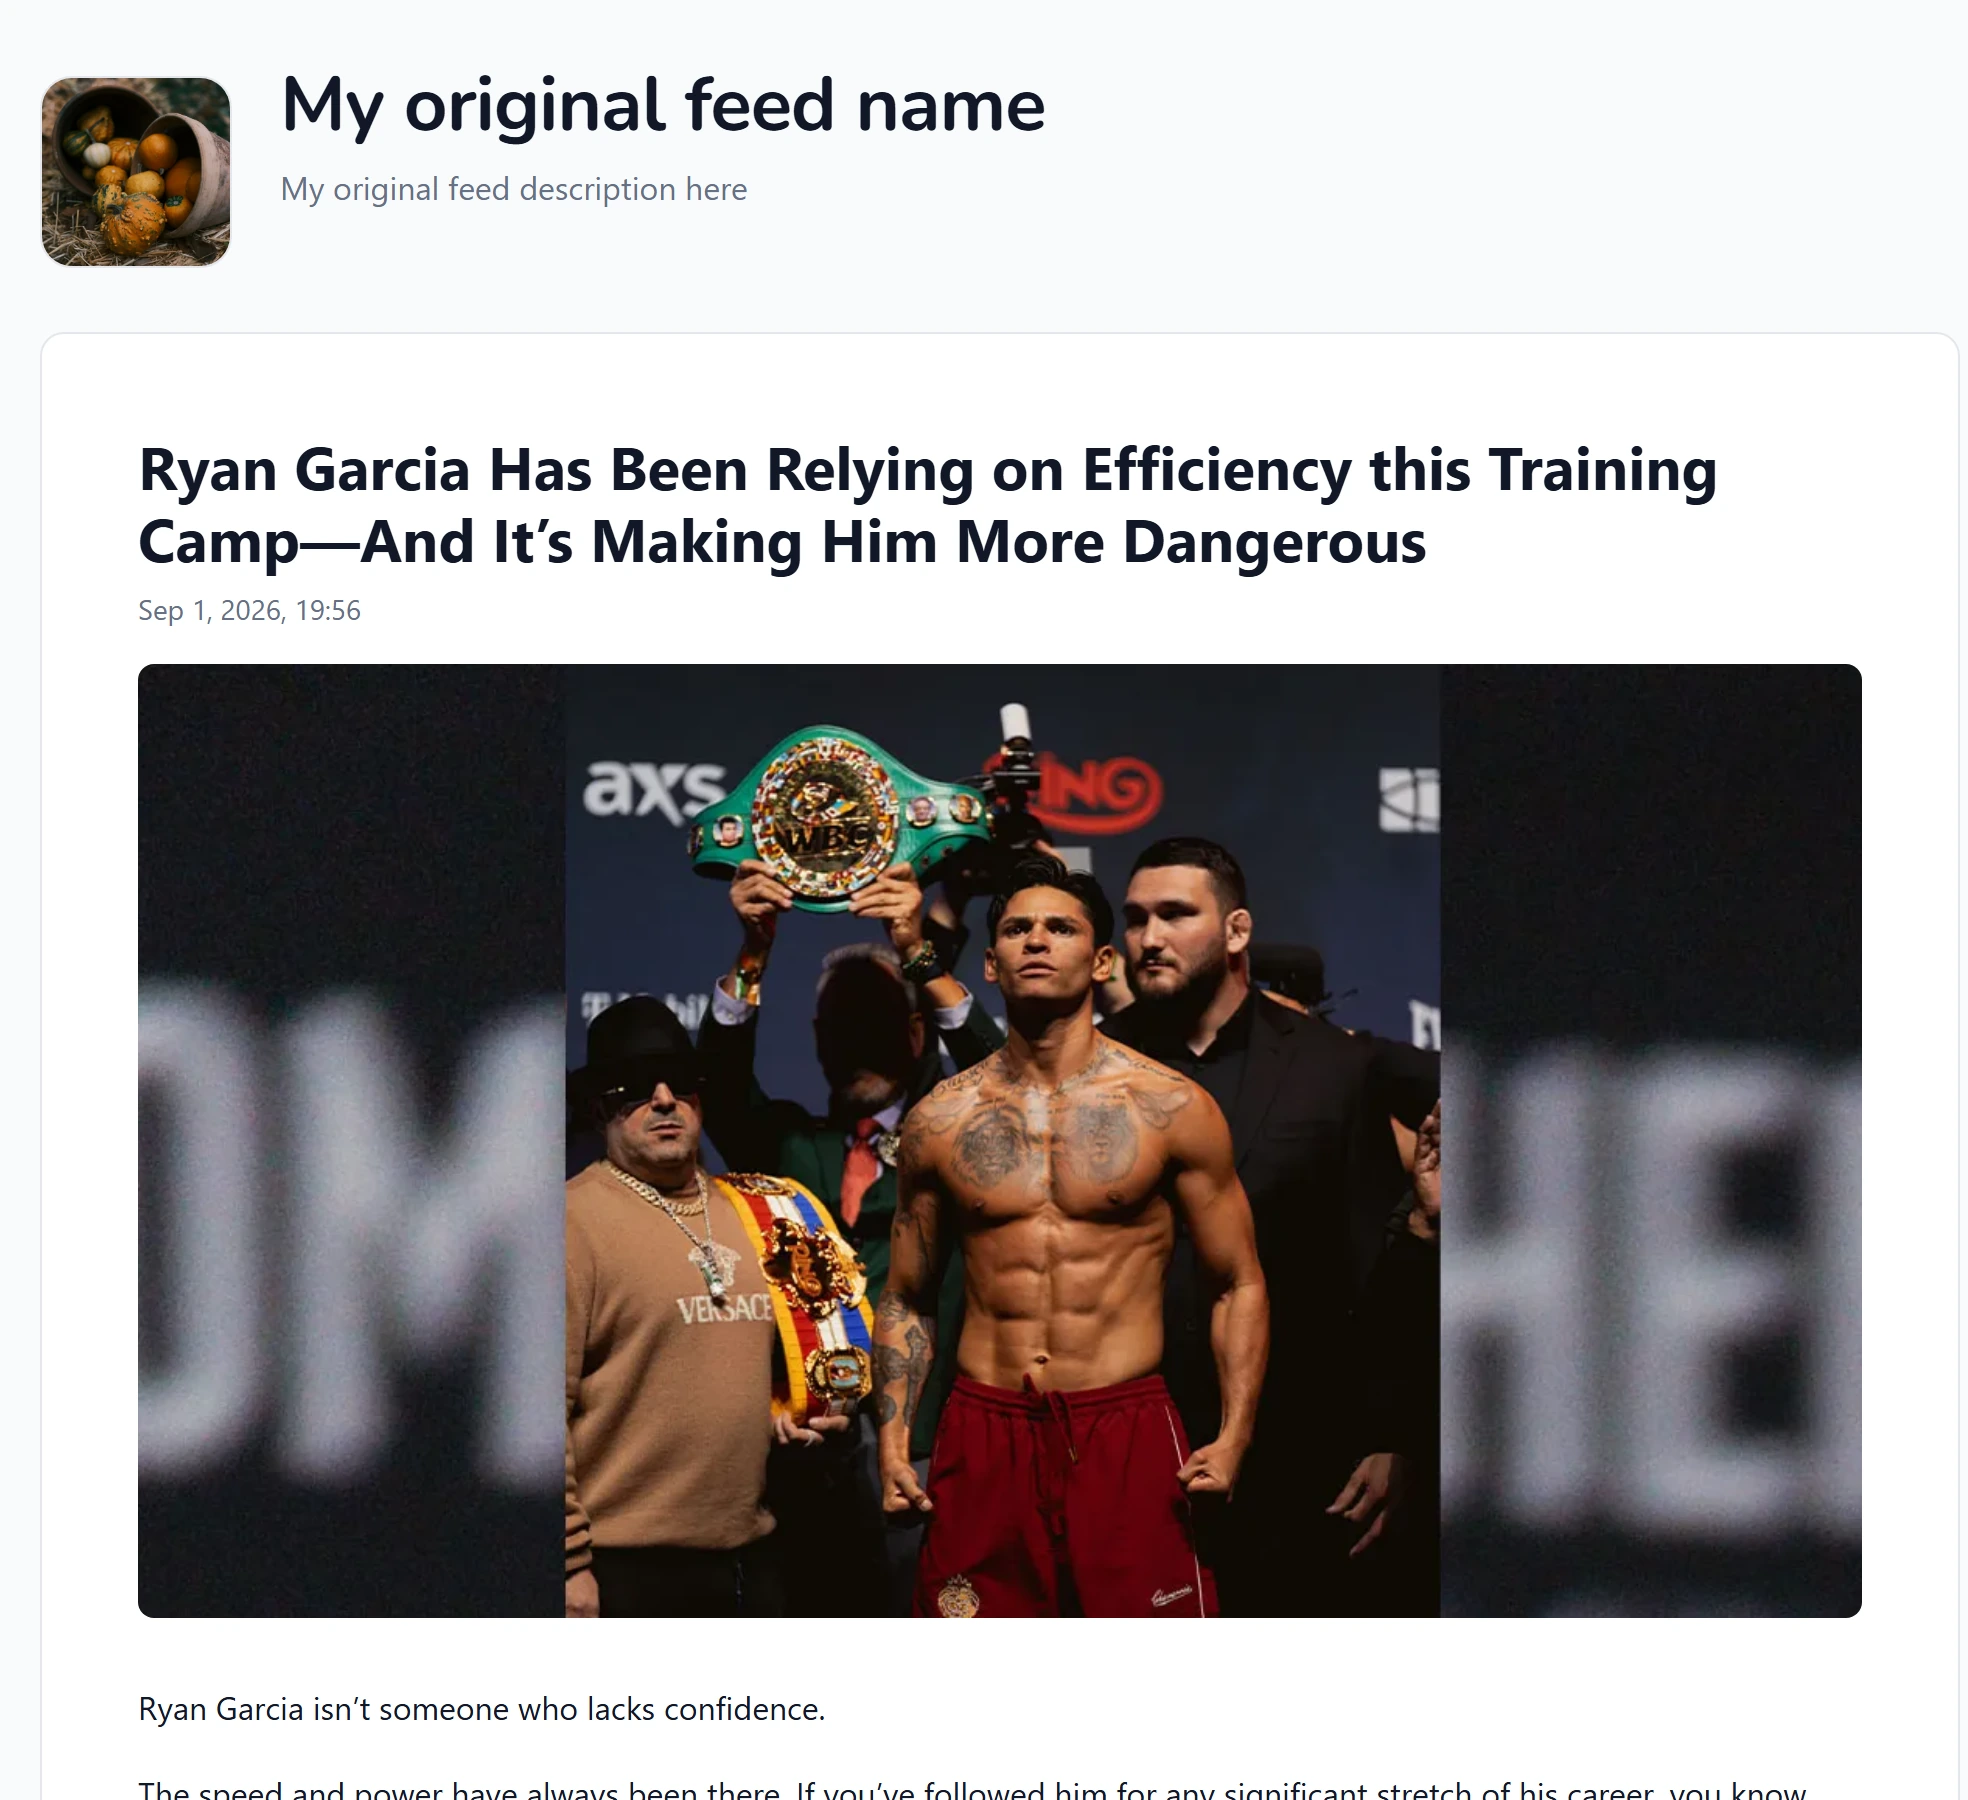
The page shows the feed’s image, title and description at the top. Your latest published posts follow, newest first. Each post shows its full text, images, date and categories, like an article on a blog.
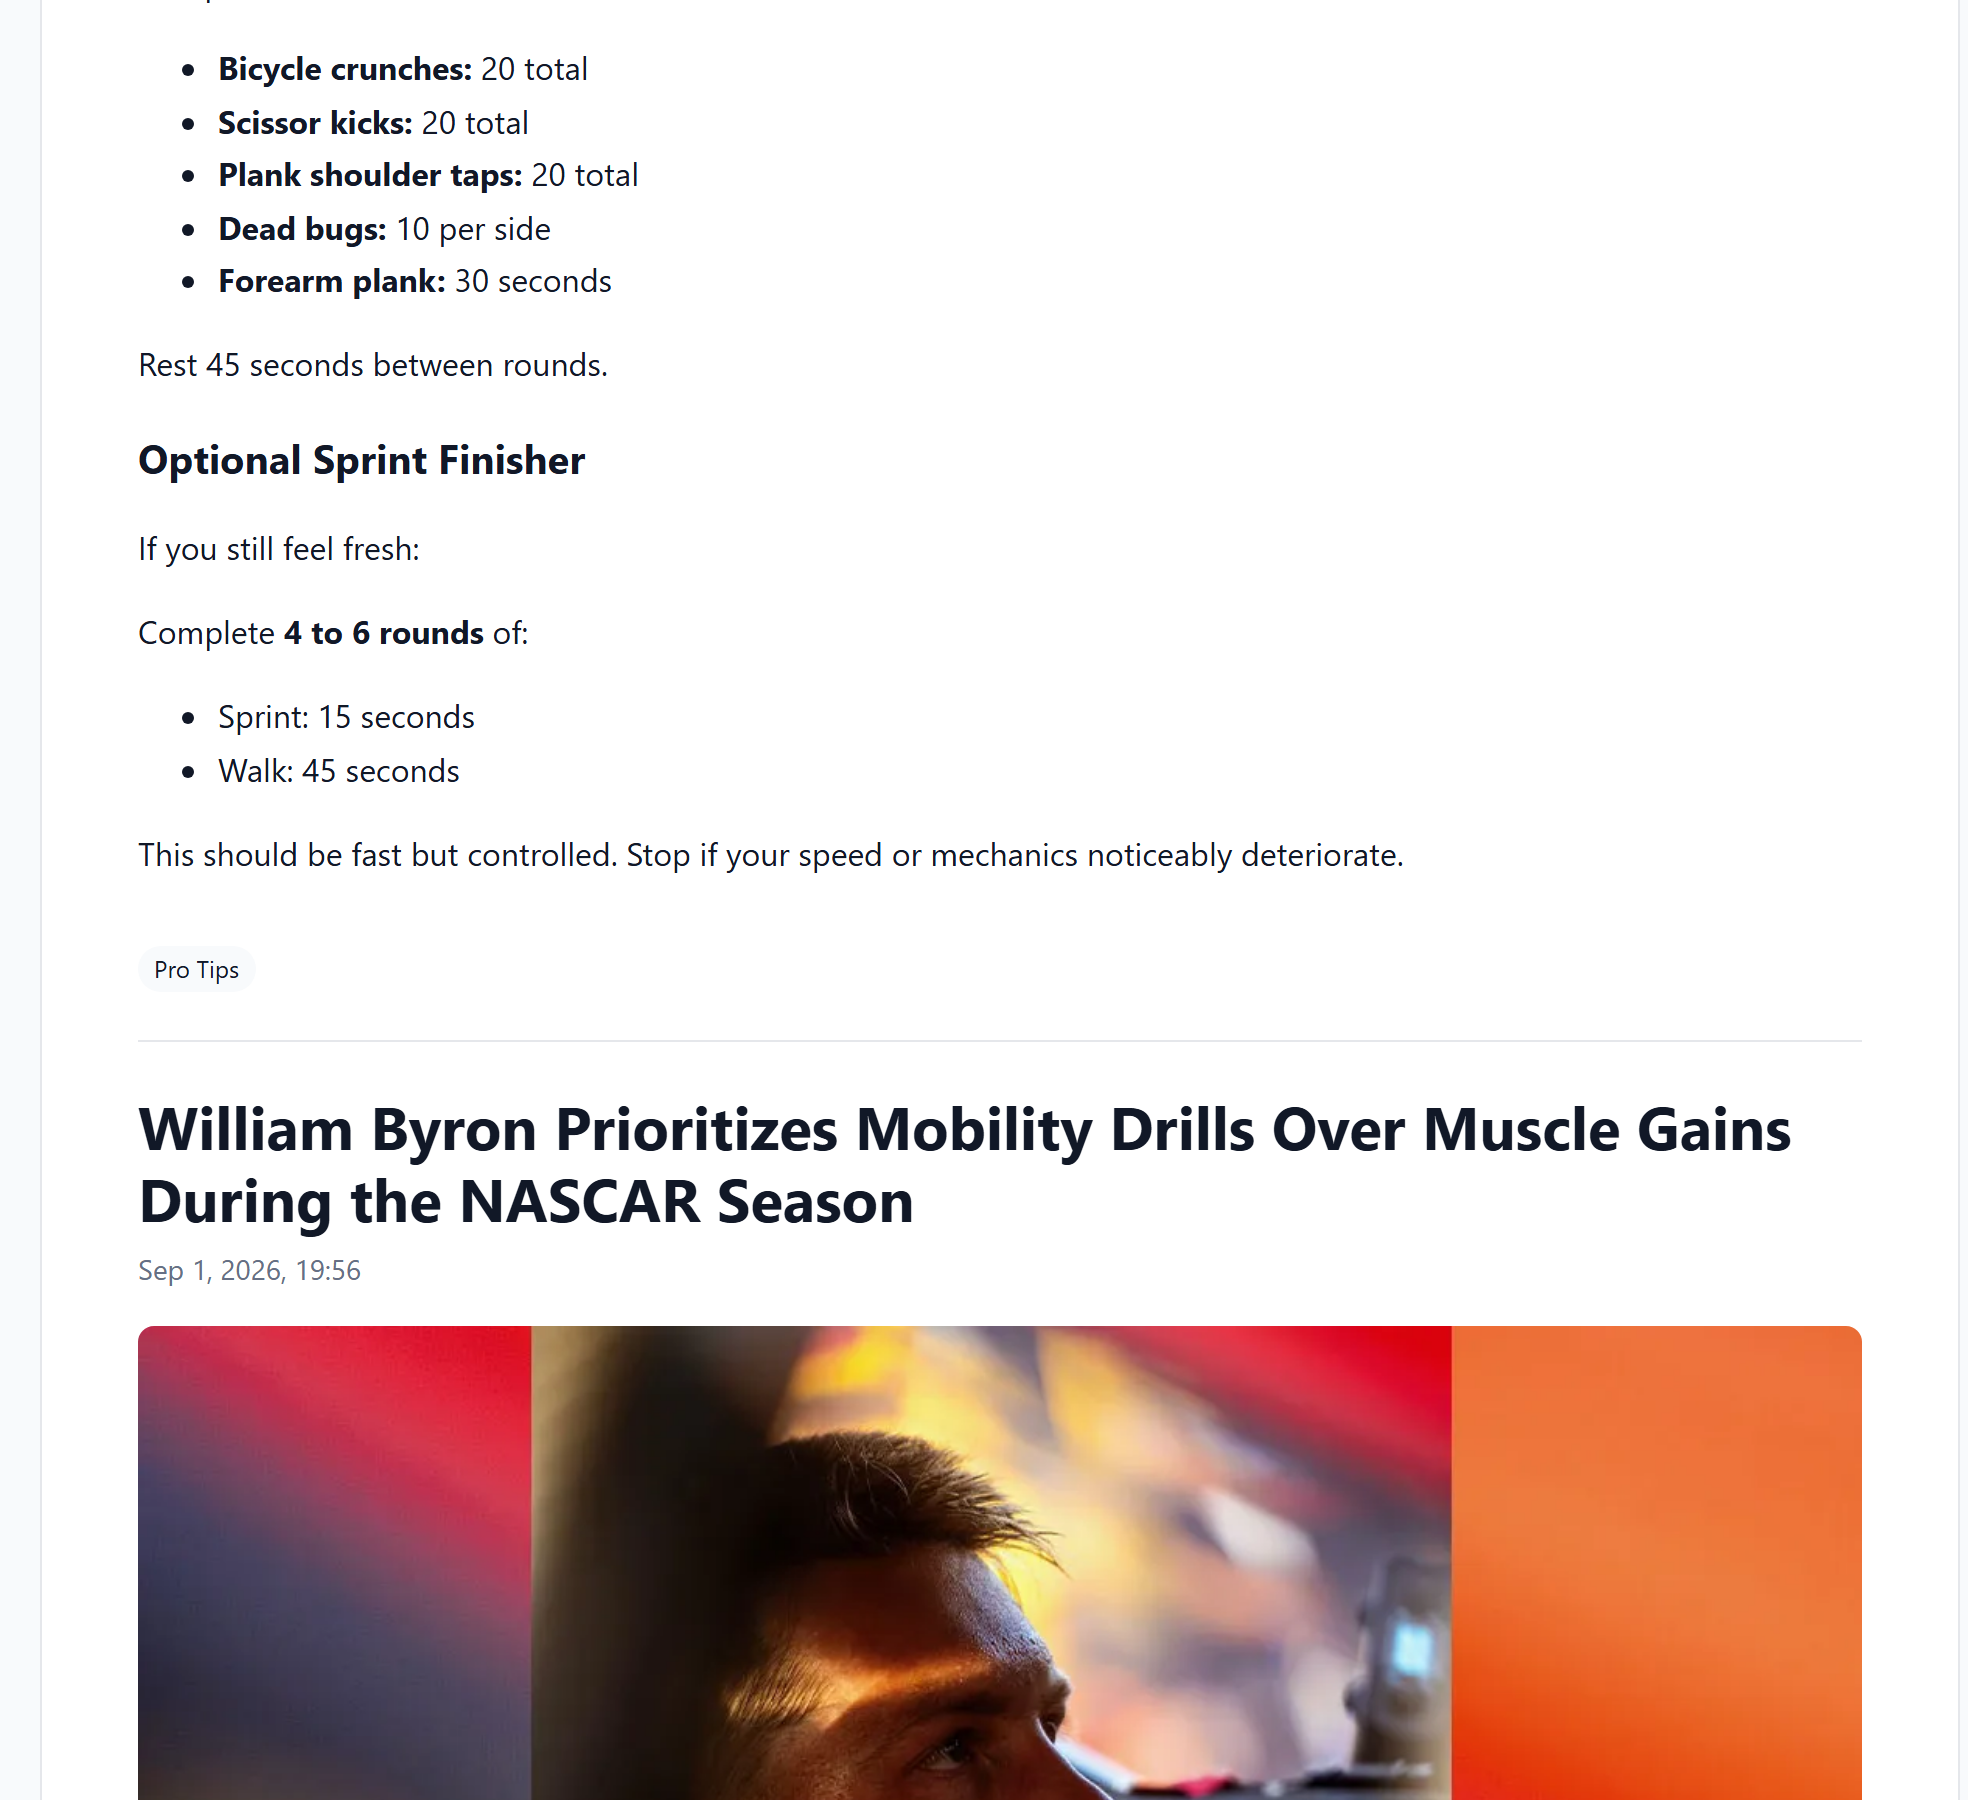
Share the feed’s address anywhere you would share a blog link: in your bio, a newsletter or a message.
Drafts and delayed posts never appear at the public address.
Share posts to your channels
Section titled “Share posts to your channels”To share every new post automatically, add the feed to an Auto-Publisher. Select Add to auto-publisher in the feed’s ⋮ menu on the Content Feeds page. The Auto-Publisher checks the feed on its schedule and sends new published posts to the channels you chose. See What are Auto-Publishers? and Channels.
To share one post right away, select Post to channels in the post’s ⋮ menu.
Edit or delete a feed
Section titled “Edit or delete a feed”To change a feed’s settings, open ⋮ on its row in Content Feeds and select Edit feed. Change the fields, then select Save changes.
If you change the Feed URL slug, the feed’s address changes too. Apps that use the old address stop getting your posts, so update them.
To delete a feed, select Delete feed in its ⋮ menu and confirm. Deleting an original feed also deletes every post in it. The feed stops counting toward your feed limit.
Keep posting through busy weeks
Set sources, keywords and posting hours once. Feedigy posts to your channels while you work on other things.
No card required. The Free plan has no time limit.