
Tags
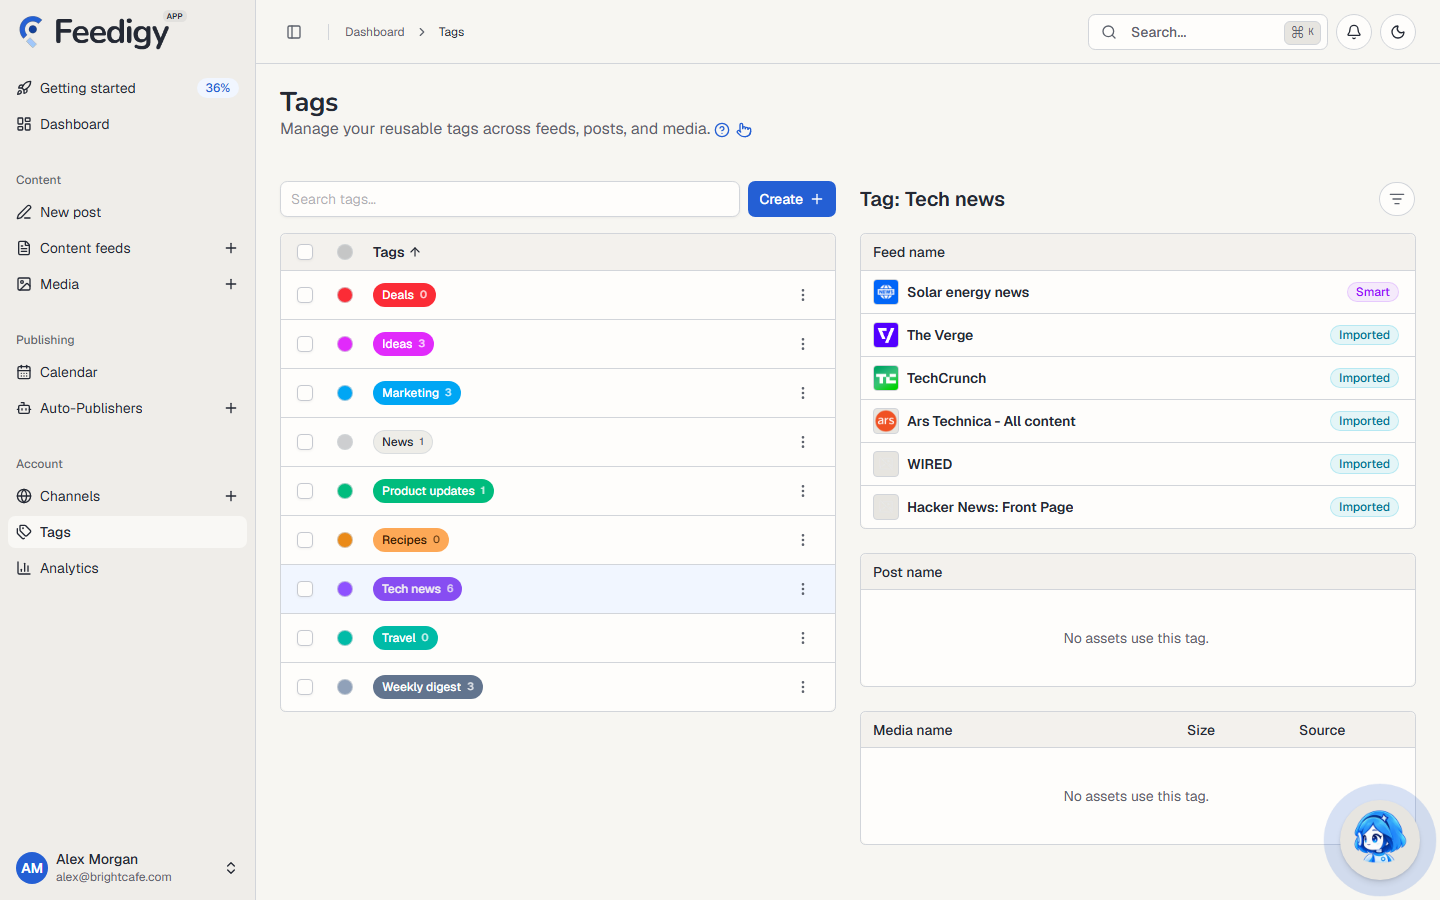
A tag is a label you put on your content so you can find it again. One set of tags works across your whole account: you can tag feeds, feed posts and images in your media library with the same tags, then filter by them anywhere.
For example, tag all your technology news sources Tech news. On the Content Feeds page, filter by that tag to read or select only those feeds, and add them all to one Auto-Publisher at once.
Open Tags in the sidebar, under Account, to manage them.
The tag list
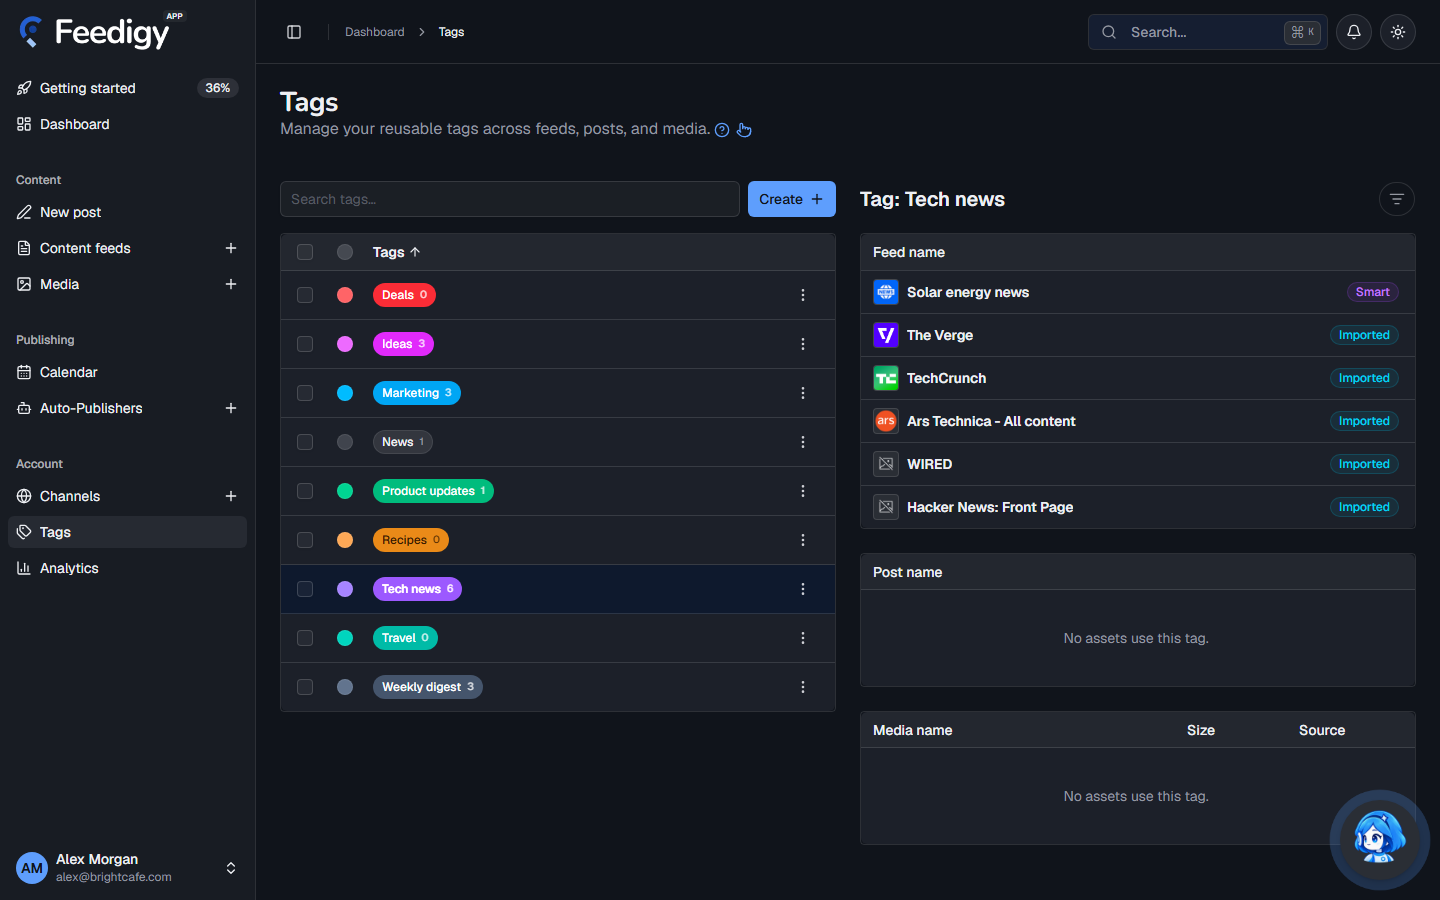
Section titled “The tag list”Each row shows the tag’s colour and name. The number on the tag is how many items use it.
- Search tags… filters the list as you type.
- Tags in the heading row sorts the list by name. Select it again to reverse the order.
- The dot in the heading row groups the tags by colour.
See what uses a tag
Section titled “See what uses a tag”Select a tag’s name. The panel on the right shows everything that has the tag, in three lists:
- Feed name: feeds, with their type (Original, Smart, Discovery or Imported).
- Post name: posts.
- Media name: images from your media library, with their size and source.
Use the filter button at the top of the panel to show only one kind of item. Long lists have Previous and Next buttons.
Create a tag
Section titled “Create a tag”- Select Create.
- Type the name and press Enter.
A tag name can be up to 60 characters. Names are not case-sensitive: you cannot have both News and news.
You can also create tags while you work. When you add a tag to a feed or a post and type a name that does not exist yet, Feedigy creates it for you.
Change a tag’s colour
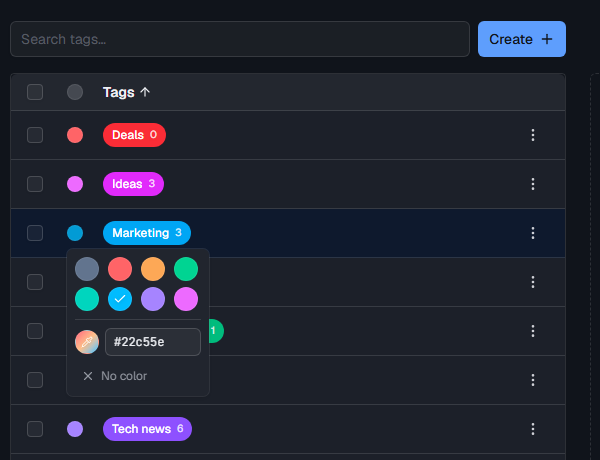
Section titled “Change a tag’s colour”Select the coloured dot at the start of the row. Pick one of the eight preset colours, type your own colour as a hex code (for example #22c55e), or select No color.
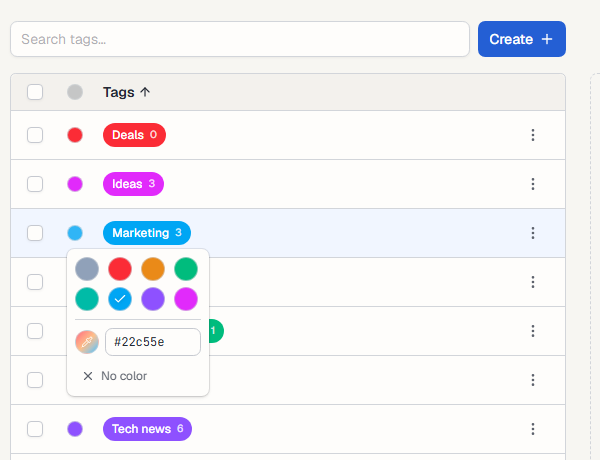
The colour shows wherever the tag appears, so related tags are easy to spot.
Rename or delete a tag
Section titled “Rename or delete a tag”Select ⋮ at the end of the row.
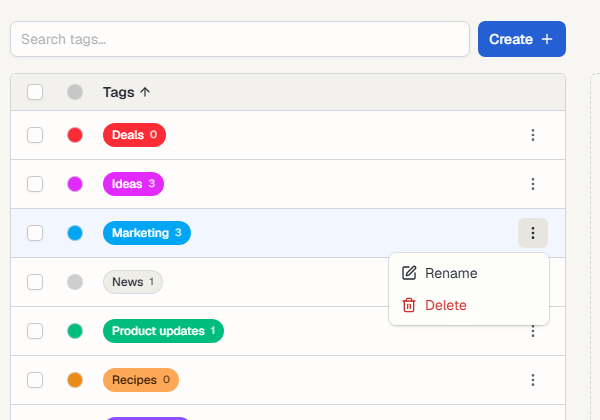
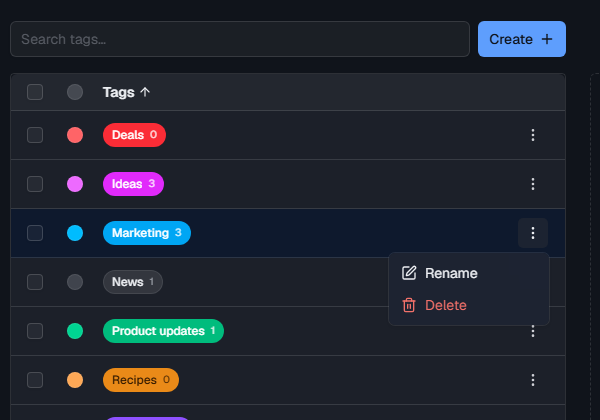
- Rename: type the new name and press Enter. Every item with the tag keeps it under the new name.
- Delete: confirm to remove the tag. Feedigy removes it from every item that uses it. The items themselves are not deleted.
To delete several tags at once, tick their boxes, then select Delete in the bar at the bottom of the page.
Merge tags
Section titled “Merge tags”Merge tags when you have two tags for the same thing, such as Social and Social media.
- Tick the boxes of two or more tags.
- Select Merge selected.
- Choose the tag to keep, then select Merge selected.
Every item that had one of the other tags now has the tag you kept. The other tags are deleted.
Where you add tags
Section titled “Where you add tags”- Feeds: on the Content Feeds page, expand a row and select Add tag. To tag many feeds at once, select them and choose Assign tags.
- Feed posts: in the post editor of an original feed.
- Smart feeds: when you generate a smart feed, it comes with default tags for its source, and you can add your own.
Keep posting through busy weeks
Set sources, keywords and posting hours once. Feedigy posts to your channels while you work on other things.
No card required. The Free plan has no time limit.